
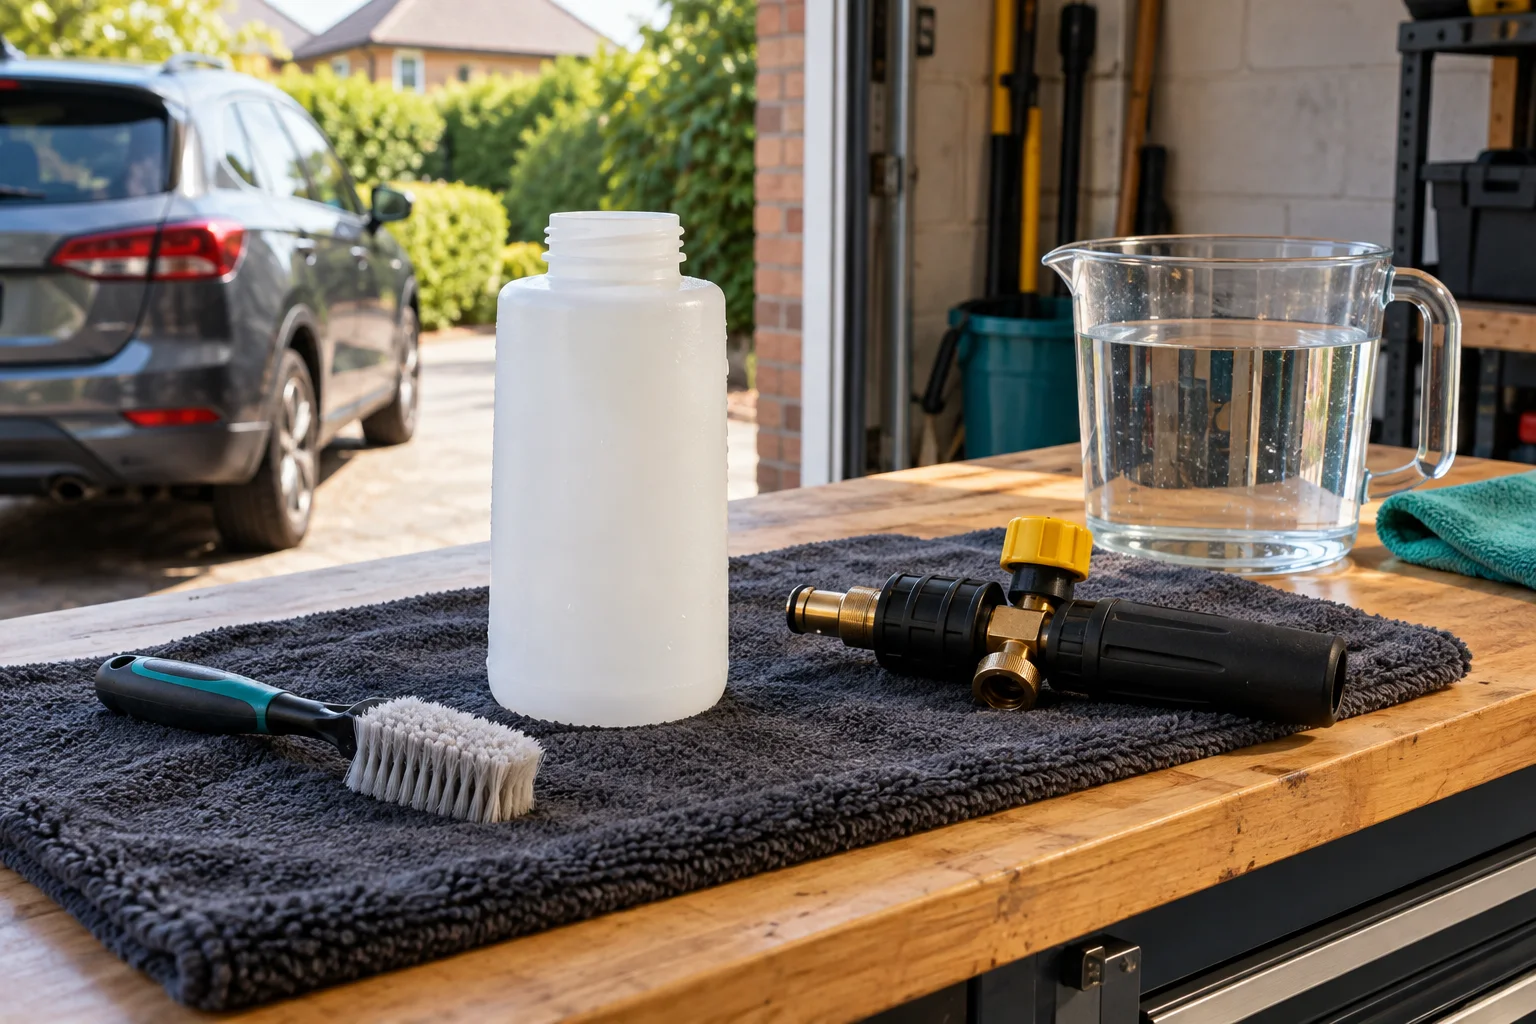
Clean the parts the chemical actually passes through
A clean reservoir is only half the job. A foam lance also draws solution through its pickup and head, so dried residue can remain after the outside looks tidy. Routine flushing is simpler than diagnosing poor output after several washes, and it helps you notice damaged or missing parts while the equipment is already out.
Use the care instructions for your exact attachment. The routines below distinguish ordinary rinsing from service work. A compatible-looking brass head does not establish that two brands share seals, mesh, or an approved dismantling method.
After each wash: a practical cleaning sequence
- Finish using the chemical and follow its handling and disposal instructions for any remainder. Keep products in their labelled containers; do not store diluted chemical in the lance for the next wash.
- Stop the machine and release pressure as its manual requires before removing attachments or opening components. Switch-off alone can leave pressure trapped in the hose.
- Rinse the reservoir with clean water as the lance maker directs. Clean accessible external residue without driving dirt into the connection.
- Reassemble for the permitted clean-water flushing step. Draw clean water through the head following the attachment and washer instructions, with the same care you use during normal operation.
- Stop and depressurise again before disconnecting. Drain as directed, inspect accessible seals and store the attachment in the conditions specified by its manufacturer.
For the Autoglym Polar Blaster, the maker calls for rinsing the reservoir between products and flushing the head with clean water at the end of the process. Kärcher likewise tells FJ 6 owners to rinse with clear water after use. Neither instruction means a universal soak in a strong cleaner.
Know which symptom you are trying to fix
| Observation | Useful first action | When to stop |
|---|---|---|
| Residue in the reservoir | Rinse by the maker’s method and flush the fluid path | Unknown chemical remains or incompatible cleaning agent proposed |
| Uneven fan after storage | Check external residue and prescribed cleaning steps | Blockage persists or the head needs unapproved dismantling |
| Leak at the gun connection | Depressurise; inspect fit and visible seal | Damaged fitting, missing seal or joint that will not lock |
| Thin output with normal pickup | Check expected chemical behaviour and dose | Do not condemn the mesh from foam appearance alone |
| Little or no pickup | Check accessible tube and permitted settings | Fault remains after the owner checks in the manual |
For a broader diagnosis, use why a lance makes watery foam. A clogged component, incorrect dilution and disrupted washer supply can produce overlapping symptoms, so change one thing at a time rather than stripping the head immediately.
Treat mesh and seals as exact replacement parts
A foam-producing mesh is replaceable on some heads. Confirm the manufacturer, product family and revision, then identify the actual part number and procedure. Check whether a service kit contains one component or several: a mesh tablet, nozzle insert, O-ring set and complete head are different purchases.
The MJJC mesh kit listed below is specified for MJJC Pro, S and Lite product families and uses stainless-steel mesh. That family description is a starting point for checking the exact head, not permission to fit it to every attachment. The selected Amazon item and the manufacturer family listing should be compared with your existing head before ordering.
For a matching MJJC foam head
MJJC Mesh Filter Tablet Kit
A replacement 304 stainless-steel mesh filter kit listed by MJJC for its S, Pro and Lite foam-cannon families. It is an option when a matching internal filter remains blocked after appropriate care.
- 304 stainless-steel mesh
- MJJC S / Pro / Lite families
- Match the head and service guide
Confirm the exact head version and approved service method. It is not a universal tablet for every lance. Shut down and fully depressurise before removing any accessory or servicing its parts.
Use the maker's directions for removal, orientation and reassembly. Do not substitute a metal scourer or an anonymous disc that happens to fit. Avoid probing small outlets with wire, forcing seized threads or using tape and sealant to conceal a damaged joint. If you cannot identify the part or permitted method, ask the supplier before dismantling.
Do not turn routine cleaning into an experiment
Do not assume that vinegar, descaler, brake cleaner or a household solvent is suitable for the complete head. A product that removes one deposit can affect seals or other materials. An acceptable cleaning chemical and contact time must come from the attachment maker's procedure for that component.
Likewise, do not grease every visible rubber part. Use only a specified lubricant, amount and location where the manual calls for it. Product residue, a worn seal and an incorrectly assembled fitting need different remedies; lubrication cannot establish that an incompatible connector is safe.
Keep small service parts in a clean tray so you can account for their order. Photograph the original arrangement for your own reference where the manual permits owner servicing. If a spring, valve or sealing surface is damaged, stop rather than compensating with extra tightening.
Store a clean attachment, not a mixed chemical bottle
Follow the maker's draining and storage instructions. Protect equipment from conditions outside its stated limits, keep connections clean and prevent the head from being knocked against heavier tools. Do not leave a mixed concentrate bottle attached as a convenience for the next wash.
Store original chemicals upright, labelled and according to their own requirements, separately from clean mitts and drying towels. A bottle used for a measuring test should not become an unlabelled long-term chemical container. Keep product-handling and disposal instructions available with the concentrate.
Before the next wash, inspect the reservoir, pickup tube, accessible seals and connector. If the head is cracked, the bottle is damaged or the connection will not lock, replacement or proper repair comes before use. Connector identification helps distinguish a fit problem from a worn service part.
When a complete replacement makes sense
A replacement lance can be reasonable when the body is damaged, compatible parts are unavailable or a confirmed fault makes repair impractical. It is not automatically necessary because one wash produced thin foam. Establish the fault and compare the complete replacement's gun fitting, reservoir and cleaning instructions before spending.
The MJJC Pro Kärcher option below is an example of a complete lance, separate from its service mesh. The selected listing describes a 1.2 L reservoir and Kärcher fitting; confirm the supplied adapter and revision. Do not transfer an older head's parts or assume a generation from the shared “Pro” name.
For a larger reservoir and replaceable filter
MJJC Foam Cannon Pro with Kärcher K adapter
The selected Pro listing has a 1,200ml tank, Kärcher K adapter and a spare mesh filter. A useful alternative when reservoir handling and access to model-specific spares matter.
- 1,200ml listed reservoir
- Kärcher K adapter supplied
- Spare mesh filter listed
Confirm the exact Pro version supplied, washer flow requirements and gun fitting. Do not substitute the 1/4-inch-only listing for a standard K-series gun or assume every Pro-generation part is interchangeable.
After work affecting pickup or controls, repeat your water calibration before using a PIR recipe. A clean, repaired lance should deliver the chemical according to its instructions; the target remains a controlled pre-wash and rinse rather than maximum foam density.
Common questions
Should I rinse my foam lance after every wash?
Follow the exact maker’s instructions. Kärcher specifies a clear-water rinse after FJ 6 use, and Autoglym calls for cleaning the reservoir between products and flushing the Polar Blaster head with clean water after the process. Rinsing only the outside leaves the fluid path untreated.
Can I leave diluted snow foam in the bottle?
Prepare what you need and follow the product’s handling and disposal instructions for leftovers. Do not use the lance as storage for mixed chemical. Rinse and flush the attachment as directed, then store the concentrate in its original labelled container under its own storage conditions.
Can I clean the complete head with vinegar?
Use a cleaning agent and method approved for your exact head and component. A household descaler or solvent can be inappropriate for seals or other materials even if it removes a deposit. Do not assume a whole-head soak is part of routine care.
How often should the mesh filter be replaced?
There is no universal interval established here. Diagnose the symptom, follow the manufacturer’s maintenance guidance and identify the compatible part. Thin foam alone does not prove a worn mesh; incorrect dilution, pickup settings and water supply also need checking.
Does switching the washer off make the lance safe to remove?
Not by itself. Pressure can remain in the hose and gun after the motor stops. Follow the washer’s shutdown and pressure-release procedure before disconnecting attachments, opening components or inspecting the coupling.
Sources and product instructions
Follow the label and care instructions for the exact version and surface you own.