
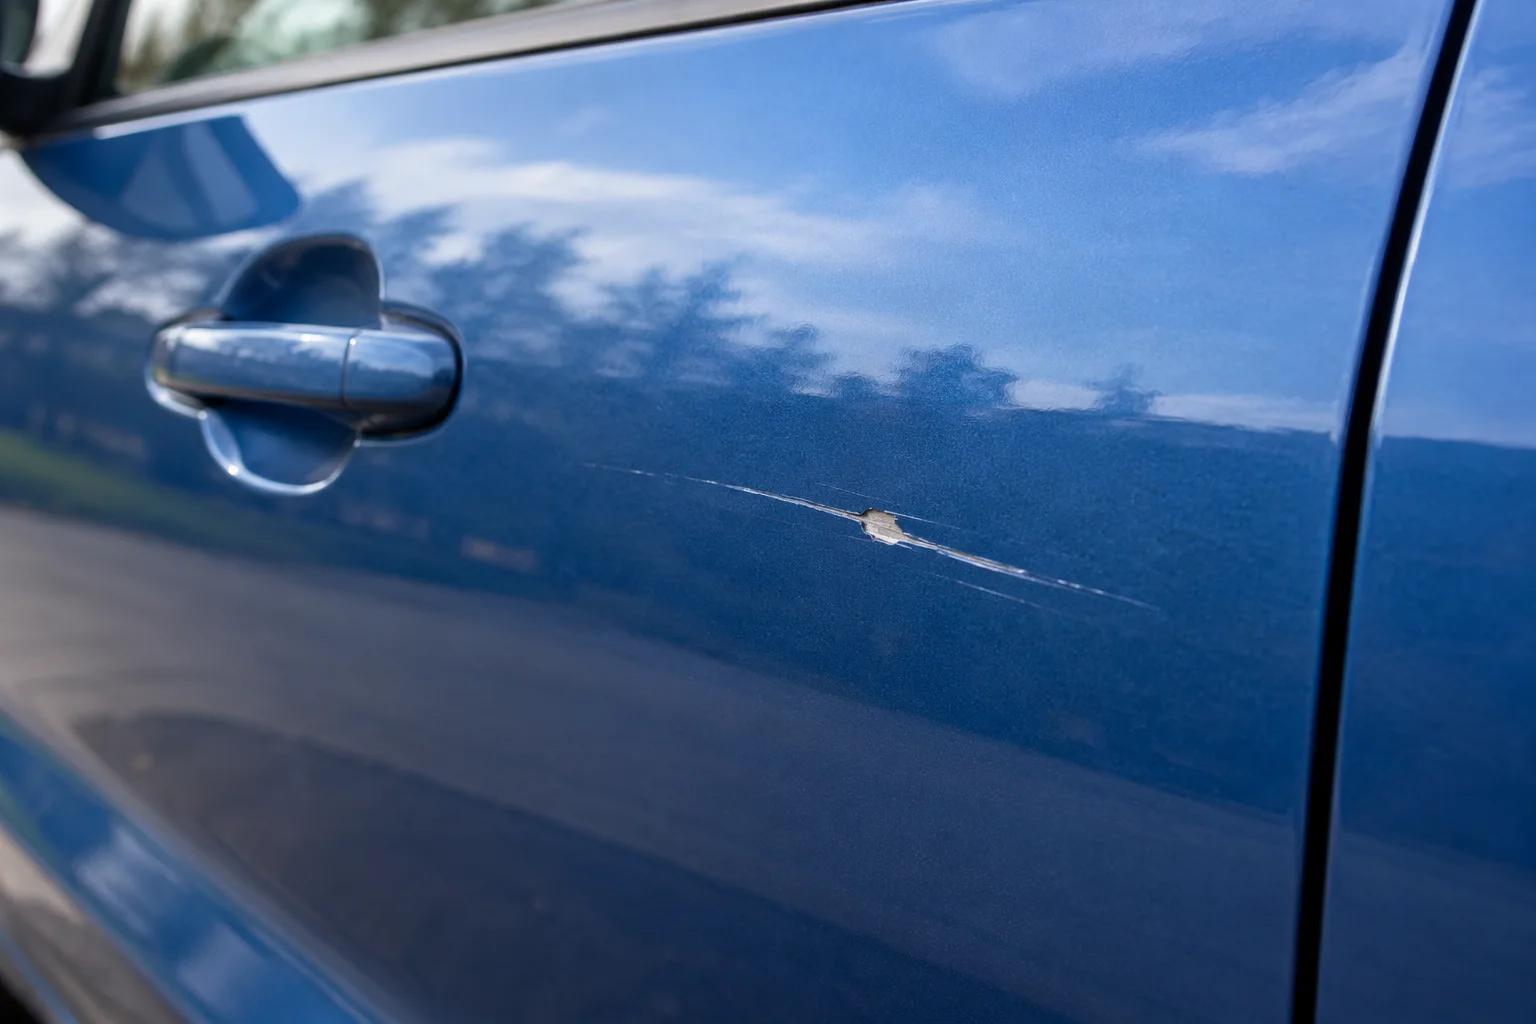
The decision is about remaining paint, not persistence
A scratch-removal product cannot replace missing paint. Abrasive correction works by removing material around a defect, which means there is a point where further polishing would do more harm than good. The aim should be an appropriate repair or acceptable improvement, rather than erasing every visible line at any cost.
The first useful distinction is between an ordinary surface mark on sound paint and damage whose depth or condition is uncertain. A home inspection can identify reasons to stop. It cannot certify the amount of clear coat remaining or guarantee that a particular polish will remove a scratch safely.
| What you can observe | Sensible next step | Avoid |
|---|---|---|
| Loose dirt or wash film obscures the mark | A gentle compatible wash, provided the surface is intact enough to wash | Judging depth through dirt or rubbing with a dry cloth |
| A mark catches lightly on a nail | Stop correction and request assessment | Using the test to calculate how much sanding is needed |
| Possible exposed primer, colour loss or metal | A paint/body-repair assessment | Trying to polish missing layers back into place |
| Peeling, cracking, lifting paint or corrosion | Body-repair advice before further treatment | Pressure jets or abrasives around failing edges |
| Fine marks on apparently sound gloss paint | Assess finish history and seek correction advice if uncertain | Assuming a non-catching mark is automatically safe to machine-polish |
Make the area clean enough to inspect
If the paint is intact and a normal wash is permitted, remove loose dirt with the same controlled method you would use elsewhere on the car. Use a suitable shampoo and a clean bodywork mitt. Do not concentrate pressure or scrub the line to see whether it disappears.
Gtechniq GWash is a routine-wash example for compatible finishes. Its purpose here is cleaning before inspection, not chemical scratch removal. Existing suitable shampoo is sufficient; there is no need to buy a correction kit simply to establish what the mark looks like when clean.
A standalone bucket-wash shampoo
Gtechniq GWash 500ml
A concentrated, pH-neutral shampoo for a regular contact wash. A useful single-bottle choice when you already own a mitt and towels and do not need another boxed set.
- 500ml concentrate
- Bucket-wash shampoo
- pH-neutral formulation
Use the dilution on your UK bottle. This is GWash, not Ceramic GWash or a snow-foam pre-wash; follow your coating or finish supplier’s care instructions.
A clean microfibre mitt helps keep the wash controlled. Inspect it for debris and keep wheel equipment separate. If the damage has lifting edges, exposed layers or loose paint, stop and ask the repairer how they want the area prepared rather than putting a mitt or strong jet over it.
A reusable bodywork wash tool
Meguiar’s Super Thick Microfibre Wash Mitt
A microfibre mitt for contact washing the bodywork. Meguiar’s specifies machine washing, so it can be cleaned and reused as part of your regular wash routine.
- Microfibre
- Machine washable
- Separate from wheel-cleaning tools
Rinse it frequently during the wash and keep it separate from wheel tools. A dirty mitt can mark paint; no mitt guarantees scratch-free washing.
Dry through a suitable gentle method and inspect in useful light. Take clear photographs of the whole panel and a closer view for the professional’s initial discussion. Photographs are useful context, but an on-car inspection may still be necessary to establish the repair.
What a fingernail check can and cannot tell you
3M’s scratch-removal instructions use a catching mark and visible metal as reasons for repair or professional advice. That is a useful stop boundary. It does not work in reverse: a scratch that does not catch has not been proven suitable for abrasive correction.
Avoid repeatedly dragging a nail over the area. Pressure, nail shape, lighting and the kind of mark all affect what you notice. The test cannot distinguish every paint layer, find thin edges or account for an earlier repair. Do not turn a simple warning sign into a home paint-depth measurement.
Similarly, a mark changing appearance when wet is not a correction guarantee. Water temporarily alters reflections. A white line can be transferred material, damaged clear coat or a lower layer, so colour alone cannot select a solvent, compound or sanding grit.
Stop sooner around vulnerable paint
Be particularly cautious with unknown repairs, panel edges and sharp body lines. A resprayed area may have a different system or thickness from adjacent factory paint. A generally glossy panel can still contain a local weak area. A basic thickness reading, where available, does not automatically isolate the remaining clear-coat layer.
Matt and satin finishes, wraps and paint-protection film have separate repair and maintenance needs. Gloss-polishing advice can change their appearance or damage them. Ask the vehicle maker, installer or a suitable specialist before treating marks on those surfaces.
Peeling lacquer, cracking, blisters, rust and paint lifted by an impact are not ordinary swirl-removal jobs. Keep the affected area clear of experiments and arrange assessment. Where a collision, dent or broken component is involved, describe the broader damage rather than presenting it only as a cosmetic scratch.
Prepare for a useful assessment
Tell the detailer or repairer:
- Which panel is affected and how the mark occurred, if known.
- Whether there has been previous paintwork, a coating, wrap or film.
- Whether a nail catches and whether any layer appears exposed, without claiming a diagnosis.
- What cleaners, polish, solvent or scratch treatment have already been applied.
- Whether your aim is modest improvement, local repair or a near-invisible finish.
- Any lease, warranty, insurance or repair conditions that affect the choice.
Ask what they expect to improve, what may remain visible and whether the proposed treatment removes material or adds paint. Get the scope and likely limitations clear before agreeing to correction. A responsible recommendation may be to leave a minor defect alone rather than pursue complete removal.
Why stronger DIY treatment can make the decision harder
Only after the surface has been judged suitable should equipment selection begin. The dual-action polisher buying guide covers the machine, pad and liquid checks; it cannot determine remaining paint thickness or approve correction remotely.
Repeated compound passes, drill-mounted abrasive kits and wet sanding can remove material before the damage has been identified. They can also create a wider hazy area or expose a lower layer. None becomes appropriate solely because a short online demonstration looks simple.
Fillers may reduce a mark’s visibility temporarily. That is different from removing it, and should be described honestly when discussing a repair. Protection products such as wax and sealant do not restore missing clear coat. The wax, polish and sealant explainer separates those roles.
Until the condition is established, keep to permitted gentle maintenance and avoid adding products to hide the area. Follow any temporary care advice from the repairer, particularly where material is exposed. The useful outcome is the right next step for that panel, even when that step is assessment rather than another bottle.
Common questions
Does a scratch catching my fingernail always need repainting?
It is a reason to stop home correction and seek assessment, not a complete diagnosis. A professional can identify the affected layer and discuss repair, improvement or repainting. A nail test cannot measure remaining paint depth.
If a scratch disappears when wet, can I polish it out?
Not necessarily. Water can temporarily change how a mark reflects light. That does not establish the depth, paint condition or amount of material that can be removed. Inspect clean, dry paint and seek advice where uncertain.
Can white marks be paint transfer rather than scratches?
Yes, but colour alone cannot distinguish transfer from damaged lacquer, exposed primer or other contamination. Do not attack an unidentified mark with solvent or abrasive. A gentle clean and professional inspection are safer next steps for an uncertain area.
Should I use a scratch-removal kit before asking a repairer?
Avoid experimenting on deep, catching, cracked, peeling or unknown paint. Some kits involve abrasive stages that permanently remove material. Assessment before correction preserves the repairer’s options and avoids making a small area harder to repair.
Who should assess a scratch: a detailer or a body shop?
A competent paint-correction detailer may assess superficial marks on sound paint. Missing paint, exposed metal, corrosion, failed lacquer or impact damage may require a body-repair specialist. Describe the condition first and ask whether their assessment covers the actual issue.
Sources and product instructions
Follow the label and care instructions for the exact version and surface you own.