
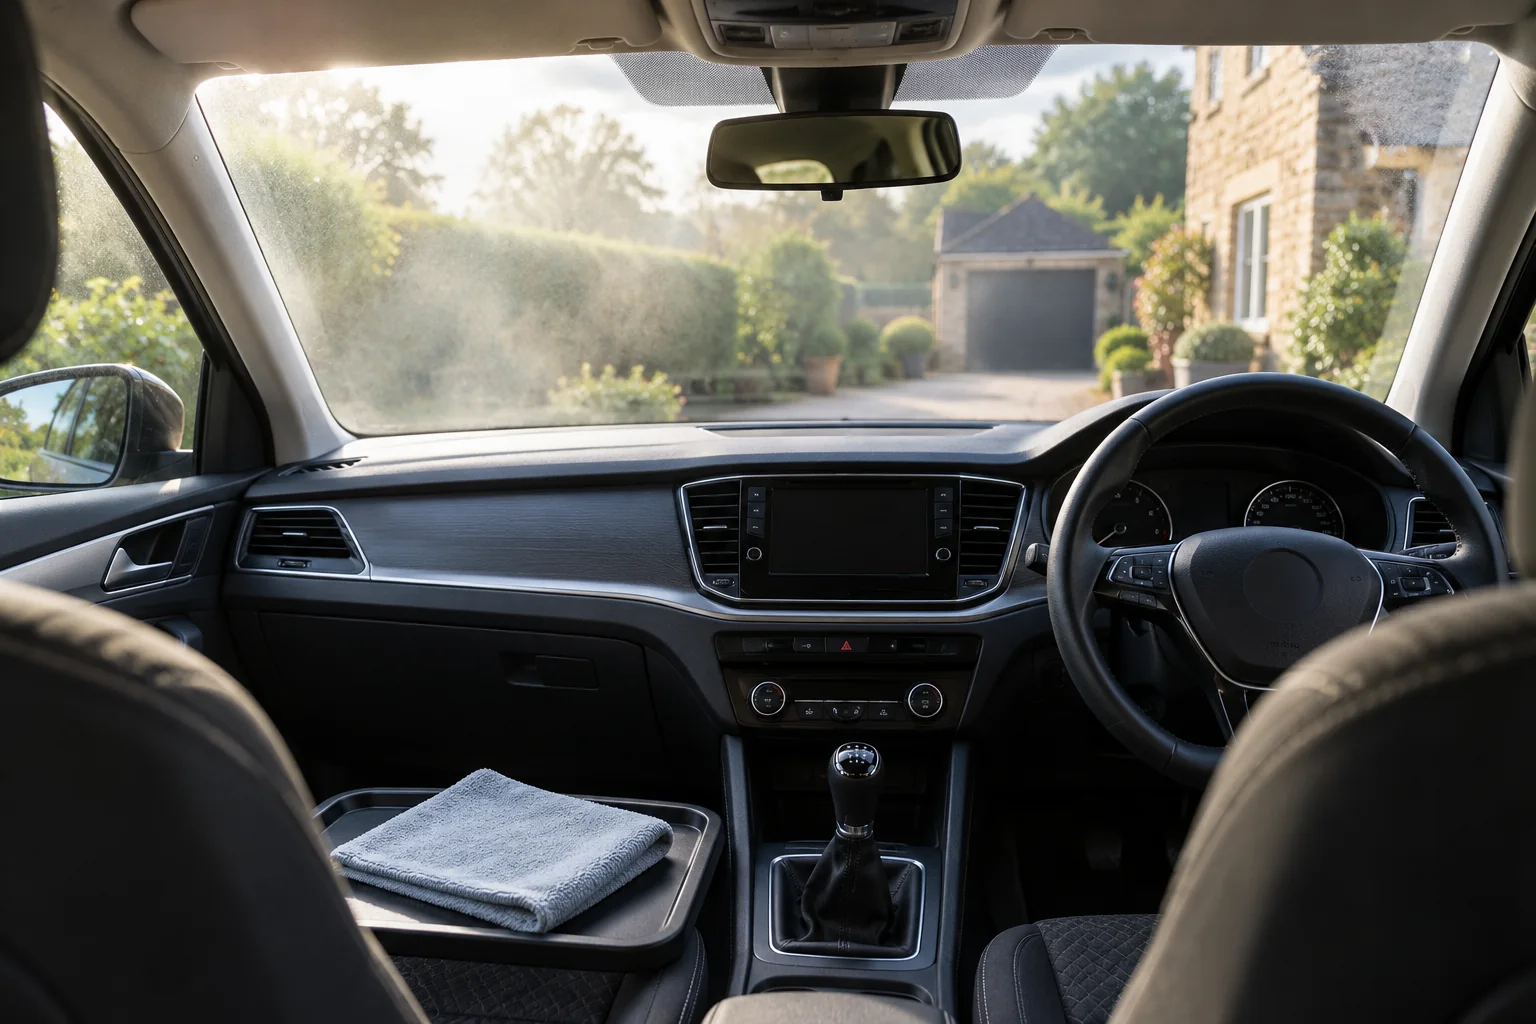
Separate residue from moisture before choosing a remedy
Streaks across the inside windscreen often become obvious in low sun or under headlamps. First decide whether you are seeing a film on the glass, condensation, an outside mark or damage. Cleaning the wrong side repeatedly will not change the result.
For ordinary interior grime, a compatible cleaner and clean cloths are a sensible starting point. If moisture keeps returning, check wet mats and upholstery and use the vehicle's demisting instructions. A persistent damp cabin needs its cause addressed; glass cleaner is not a repair for a leak.
Do the job while parked safely. Give yourself room to reach without leaning on controls, and finish before driving. Do not attempt to polish a section of windscreen while the vehicle is moving.
Prepare two clean cloths and check the surface
Set aside one suitable glass cloth for cleaning and a separate clean cloth for the finish. Keep them away from polish, wax, tyre dressing and interior dressings. A cloth can look clean yet carry enough residue to smear glass.
Ordinary vehicle glass, aftermarket film and an infotainment display are different surfaces. Check the tint or coating guidance where relevant. Do not use an abrasive glass polish, scraper or household remedy on the inside simply because it helped an exterior mark elsewhere.
Work on cool glass out of direct sunlight. If product flashes away before you can remove the residue, change the conditions rather than adding a large amount of spray. Protect adjacent trim and avoid letting liquid run into dashboard openings.
Choose a cleaner and follow its application method
Gtechniq G6: a dedicated glass-cleaning route
Gtechniq specifies spraying G6 onto a suitable glass cloth, wiping the glass and removing remaining residue with another suitable cloth. It is a useful process to follow when you want controlled application near the dashboard.
Use a modest amount and change cloth faces as they collect contamination. The product is a cleaner, not an interior water-repellent coating, and the method does not require leaving a visible film.
For dedicated interior-glass cleaning
Gtechniq G6 Perfect Glass 500ml
A glass cleaner with a cloth-first application method. Gtechniq directs using a second suitable cloth to remove remaining residue and working out of direct sunlight.
- 500ml spray
- Apply to glass cloth
- Separate finishing cloth
Check aftermarket tint and coating guidance separately. Keep spray off electronics and use a clean finishing cloth; ordinary glass suitability does not approve a display coating.
Autoglym Fast Glass: an alternative for routine cleaning
Fast Glass is another option for compatible interior glass. Autoglym describes light application, spreading and buffing, with regular turning of the cloth. Choose one cleaner and complete its process; using both on the same pane is unnecessary for a normal maintenance clean.
Keep direct spray away from dashboard and infotainment systems. Even when a product's marketing mentions screens, check the vehicle's actual display-care instructions separately.
For a separate glass-cleaning job
Autoglym Fast Glass 500ml
A 500ml cleaner for interior and exterior glass, without abrasives, waxes or silicones. Useful when you need a glass cleaner but already own the rest of your wash kit.
- 500ml spray
- Interior and exterior glass
- No abrasives, waxes or silicones
Use dedicated clean cloths. Check tint-film and vehicle-screen guidance; apply to the cloth for compatible displays, never spray directly onto electronics.
1. Remove obvious dry debris without grinding it across the pane
Check for loose grit at window edges before wiping. Use a suitable gentle method for the surface rather than dragging particles into the main working area. If the window has film, avoid catching its edge with a cloth or tool.
Keep the interior glass task separate from exterior washing. An exterior cloth that has just dealt with road film should not immediately become the inside finishing cloth. Use a clean set for the cabin.
2. Clean a section you can reach comfortably
Follow the cleaner's application instructions and wipe a manageable section. On a windscreen, working from the passenger side may give better access to part of the glass, depending on the car. Change your position rather than stretching until the cloth touches only the centre of the pane.
Use deliberate overlapping passes and keep track of the corners, the area near the mirror and the low edge above the dashboard. Do not push tools into sensors, cameras or trim. Their housings need their own care, not a stronger glass-cleaning pass.
If an area needs another clean, use a fresh cloth face. Repeatedly spreading a loaded patch across a larger pane often makes the final buff harder.
3. Finish with the separate clean cloth
Remove remaining residue as the product directs. Fold the finishing cloth to present a clean face and switch faces before it becomes damp or loaded. A second cloth is useful because the textile that lifted grime may no longer be suitable for the final pass.
The Gtechniq MF5 is a dedicated glass cloth option. Its useful role is keeping the finishing textile separate, rather than guaranteeing a result regardless of product amount or care. Check its laundering instructions and replace a contaminated or unsuitable cloth.
A cloth reserved for glass
Gtechniq MF5 Power Glass Cloth
A 40 × 40cm microfibre cloth with a fishscale weave intended for glass cleaning. Keep it apart from wax and tyre-dressing textiles so residues do not travel onto the windows.
- 40 × 40cm
- Fishscale weave
- Single glass cloth
This listing is one cloth. A second clean cloth can help with a final buff. Wash as directed and check tint-film or display instructions before treating those surfaces like ordinary glass.
4. Check from more than one angle
Inspect the pane in angled daylight where possible, while the car remains parked. A view from outside can make an interior smear easier to locate. Changing the wiping direction between inside and outside is also a practical way to help identify which side still carries a mark.
Do not chase every reflection with more spray. A scratch, tint defect or stone chip will not disappear through normal cleaning. If a mark remains fixed after the permitted process, identify it before escalating to abrasives.
Troubleshoot the kind of streak you see
| What you notice | Check first | Next step |
|---|---|---|
| Greasy broad smears | Cloth contamination or remaining film | Use clean dedicated textiles and repeat controlled cleaning |
| Fine wet trails | Too much liquid or a loaded finishing cloth | Reduce product and change cloth faces |
| Haze returns quickly | Moisture inside the car or ongoing contamination | Check mats, upholstery and ventilation |
| A fixed line or patch | Outside contamination, damage or film defect | Identify the surface issue before another chemical |
Leave the glass as the finishing job
Complete dusty vacuuming, brushing and adjacent trim cleaning first where practical. Avoid applying a dressing near a newly cleaned windscreen or using the same cloth on the dashboard afterwards. The interior routine puts these tasks in a workable order.
In winter, combine clear interior glass with the vehicle's demisting and exterior-visibility checks. The winter routine covers that wider sequence without treating a clean pane as a substitute for properly functioning equipment.
Check the outside face separately
If a mark remains after cleaning the inside, follow exterior-glass cleaning. The glass-cleaner buying guide compares routine sprays and explains when a separate deeper-cleaning cream may be suitable.
Keep the infotainment display out of the glass routine
Use the infotainment-screen guide for display coatings, cloth requirements and vehicle-specific liquid limits. Window-glass approval does not establish suitability for a touchscreen.
Common questions
Why does the inside windscreen still look greasy?
Possible causes include remaining contamination, too much cleaner or residue from a cloth used for dressing or wax. Switch to clean dedicated glass textiles and repeat the permitted cleaning method before trying a stronger chemical.
Can I use the same cleaner on the infotainment screen?
Do not assume so. A display can have a coating and cleaning rules that differ from ordinary glass. Follow the vehicle instructions and avoid spraying liquid directly onto electronics.
Are these products suitable for aftermarket tint?
Check the exact film or coating supplier’s instructions as well as the cleaner. Ordinary automotive glass suitability does not establish compatibility with every aftermarket tint or applied treatment.
Should I clean the glass before the dashboard?
Finish routine glass cleaning after dusty or damp interior tasks so you are less likely to contaminate it again. If visibility is poor, address it before driving regardless of the rest of the cleaning sequence.
Can cleaning cure persistent condensation?
Removing a film can improve clarity, but recurring condensation may also involve moisture inside the car or a ventilation problem. Check for wet mats, damp upholstery or leaks rather than relying on more cleaner.
Sources and product instructions
Follow the label and care instructions for the exact version and surface you own.