
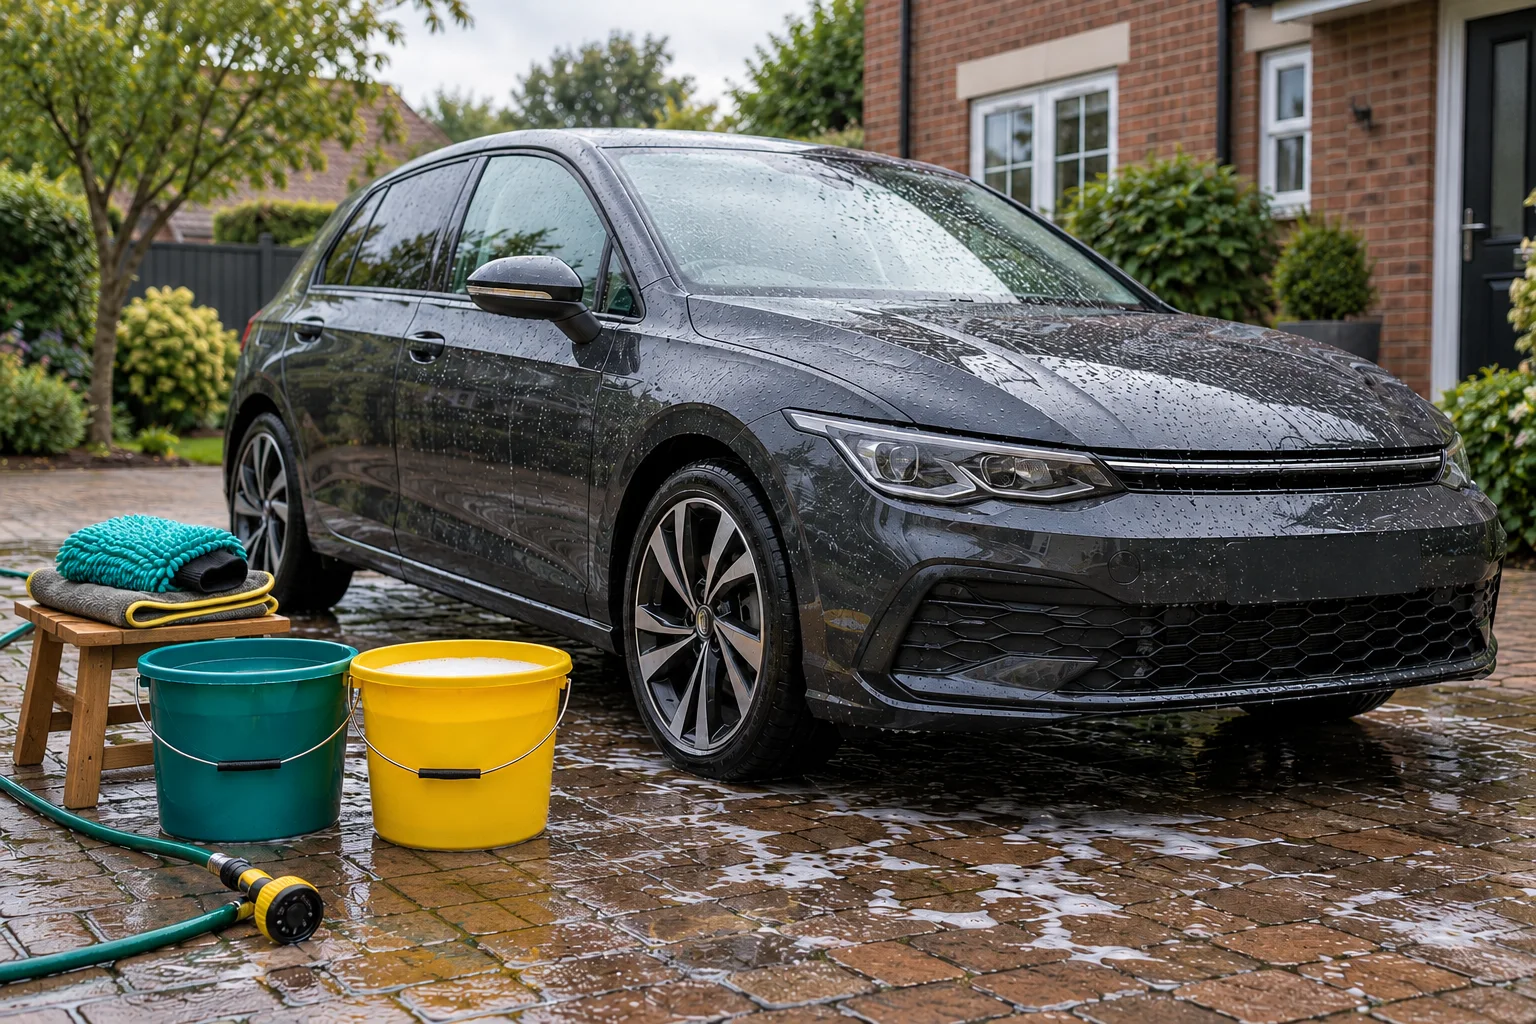
For an ordinary home wash, prepare the kit, rinse away loose dirt, wash with correctly diluted car shampoo, rinse thoroughly and dry before the remaining water evaporates. Keep wheels and their tools separate from the bodywork. You can build that routine around a suitable hose; a pressure washer and snow-foam system are optional additions.
The important starting point is your car’s finish. This routine is for compatible, sound exterior surfaces. A wrap, matt finish, fresh repair, damaged lacquer or specialist coating can change which products and methods are appropriate. Check the vehicle or finish supplier’s instructions before putting a new cleaner on the car.
Get everything ready before the first rinse
Set out shampoo, two clean buckets, a clean bodywork mitt, a dedicated drying towel and separate wheel tools. Have enough clean cloths to finish the job without borrowing a used wheel cloth. An old household bucket is only useful if it is sound, clean and free of previous residues; a new bucket does not compensate for a dirty mitt.
Choose a place where you can work around the car without dragging a hose across the paint. Keep the hose outlet and cloths off gritty paving. Close windows and doors, let wheels and panels cool, and plan to work out of strong direct sun. If the panel is drying faster than you can finish a section, change the conditions or shorten the wash rather than rushing the entire car.
You do not need to assemble every detailing stage. A normal wash does not automatically require clay, fallout remover, polish or a new protective coating. Keep those decisions separate until the car is clean enough to assess.
1. Deal with wheels using a separate kit
Check the wheel finish and cleaner’s restrictions first. Work on cool wheels, follow the bottle’s timing and rinsing directions, and do not let a cleaner dry in recesses. If you cannot identify a damaged or refurbished finish, ask its supplier before using a dedicated chemical.
Put the wheel brush and its rinse water aside afterwards. Their next stop should not be the paintwork wash bucket. Our wheel and tyre guide covers cleaner compatibility and brush clearance in more detail.
2. Rinse loose dirt before touching the bodywork
Rinse accessible exterior surfaces so loose grit and mud are carried away before the contact wash. Look at lower doors, behind wheel arches and around trim; visible grit remaining there is a reason for further appropriate rinsing, not harder rubbing with the mitt.
With a pressure washer, use its specific car-cleaning instructions for nozzle, setting and distance. Do not transfer a pressure or distance from another machine. Avoid a rotating dirt-blaster nozzle on paint and tyres, and do not aim a concentrated jet into seals or damaged surfaces. Keep electrical equipment and connections arranged as its manual requires.
3. Measure the water, then dose the shampoo
Use the amount stated on your particular shampoo. The bucket’s maximum capacity is not the amount of water you have actually added. A 20-litre bucket used with 10 litres of water needs the dose for 10 litres.
A clean-rinsing shampoo is a straightforward choice when you plan to dry and assess the car before deciding on protection. Autoglym Foaming Car Wash is one such option. Its two-capful instruction belongs to that product; it is not a universal measure for other bottles.
For a clean-rinsing bucket wash
Autoglym Foaming Car Wash 1L
A pH-neutral shampoo without added finishing film. The 1-litre bottle is a separate purchase when you already own your wash tools or prefer a separate wax or sealant step.
- 1 litre concentrate
- No added finishing film
- Two capfuls per 10 litres
Autoglym specifies two capfuls in 10 litres of water. Keep panels cool, rinse thoroughly and do not let the solution dry. Check the label and safety data sheet for your pack.
Fill the other bucket with clean rinse water. Keep the functions clear enough that you can tell them apart without guessing. If you want the reasoning and equipment details, read the two-bucket method. Use the dilution calculator when your bottle provides a measurable dose.
4. Contact-wash in manageable sections
Load a clean mitt with shampoo solution and work from the upper bodywork towards the dirtier lower areas. Use controlled movements and light pressure; repeated force is not a useful substitute for removing contamination. Rinse the mitt in the rinse bucket between sections, check it and reload from the shampoo bucket.
Keep the mitt wet with the correct wash solution. If grit remains in the fibres, stop and clean or replace the tool. Change dirty rinse water rather than working around the same contamination for the rest of the car. A mitt dropped on the ground stays out of the wash until thoroughly cleaned and inspected.
A cuff and centre seam may help you control the tool, particularly around lower panels. The Polar Mitt below includes a washbag; follow the care temperature on the version supplied rather than assuming all microfibre mitts accept the same wash.
For grip and a supplied washbag
Autoglym Polar Mitt with Washbag
A 420gsm wash mitt with a tapered elasticated cuff, centre seam and included wash/storage bag. Useful when grip and a machine-washable cleanup routine matter to you.
- 420gsm construction
- Centre seam and tapered cuff
- Wash/storage bag included
Follow the temperature label on the supplied mitt: published Amazon and manufacturer temperatures differ. Store only when dry. It does not replace a pre-wash or make a dirty surface scratch-proof.
Leave difficult bonded spots for a separate assessment. Do not use a rough mesh section or a wheel brush on paint because a bug mark remains. Our mitt buying guide explains the construction and care differences between the options.
5. Rinse completely, then choose the correct drying step
Remove the shampoo with fresh water before it dries. Check around mirror housings, trim edges and handles where solution can collect. Work in sections if the weather makes a full-car wash difficult to control.
For a standard rinse-and-dry wash, take a clean dedicated drying towel and keep its edge away from the ground. Move to a clean section as you work. A large towel gives useful area, but it must still be manageable around the car.
For drying clean bodywork
Gtechniq MF2 Drying Towel
A 60 × 90cm, 450gsm microfibre towel intended for car drying. Its larger area gives you a dedicated drying tool instead of relying on a small polish-buffing cloth.
- 60 × 90cm
- 450gsm microfibre
- Dedicated drying towel
Use a light touch on clean bodywork after completing the chosen wash method. Inspect for grit, wash after use and follow the textile’s care label. A drying towel cannot make a dirty surface safe to wipe.
If you use a product specifically intended for wet application, follow its complete method instead. A wet-applied wax, a dry-panel sealant and a rinse-off wash-and-wax are different products. Do not dry first or leave the car wet simply because another product uses that sequence. See how to dry after washing for controlled towel handling and delayed drips.
6. Inspect the result and reset the kit
Look at the finish in ordinary daylight. A streak may be residue, a dirty cloth or water released from trim; it is not automatically a reason to polish. Treat persistent marks as a separate job and use the water-spot troubleshooting guide if dried rings remain.
Rinse buckets and accessories, wash textiles according to their labels and let everything dry before storage. Keep bodywork, glass, wheel and dressing textiles identifiable. Ending with a clean kit makes the next wash simpler and avoids discovering halfway through that your only towel is still damp and gritty.
Adding a separate pre-wash
Follow pressure-washer setup guidance for the exact machine, then choose a routine pre-wash if it suits the job. Keep snow foam and bucket shampoo as separate stages with their own instructions.
Adjust for salt and colder conditions
Use the winter routine to choose a workable weather window. For lower-panel winter film, follow cleaning road salt from bodywork before drying.
Identify what the wash has left behind
Use the focused methods for insects, sap and tar when suitable deposits remain. For suspected metallic particles, follow bodywork fallout removal before considering mechanical treatment.
Finish glass and exterior trim deliberately
Use exterior-glass cleaning for the final clear finish, then inspect black plastic trim dry before adding optional dressing. Follow panoramic-roof instructions separately where fitted.
Use the outer surface’s own method
Follow separate routines for a ceramic coating, vinyl wrap, paint-protection film or matt and satin paint. A standard gloss-paint wash does not establish approval for every specialist finish.
Adapt the routine to access and conditions
If a running hose is awkward, assess whether a rinseless wash suits the dirt and finish. Use the separate hot-weather routine when evaporation shortens the working window. Clean door shuts with controlled moisture rather than opening doors into the exterior pressure-wash stage.
Common questions
Do I need a pressure washer to wash a car at home?
No. A suitable way to rinse, appropriate shampoo and clean contact-wash tools can support a home routine. Pressure equipment adds setup and model-specific restrictions. Choose it for a clear practical reason rather than assuming that greater pressure produces a safer wash.
Can I use washing-up liquid instead of car shampoo?
Choose a product intended for the vehicle surface and follow its instructions. A household detergent is not a like-for-like substitute for a labelled car shampoo, and its effect on existing finishes or residues should not be guessed from how much foam it makes.
Should I clean the wheels or bodywork first?
A separate wheel stage before bodywork makes it easier to put the dirty tools and water aside. The essential rule is separation: never move a contaminated wheel tool onto paint. Keep to the wheel cleaner’s own cool-surface, timing and rinsing instructions.
How often should I wash the car?
Use the contamination and your vehicle’s care guidance rather than an automatic weekly target. Grit, road film and fresh deposits may need attention sooner, while an infrequently used sheltered car may not need a full wash. Avoid letting a calendar push you into washing in unsuitable conditions.
Will washing remove scratches?
An ordinary wash removes dirt; it does not restore missing paint or promise scratch removal. Once the surface is clean, assess remaining marks separately. Deep damage, lifting lacquer or uncertainty about a finish are reasons to seek professional advice before stronger chemicals or polishing.
Sources and product instructions
Follow the label and care instructions for the exact version and surface you own.