
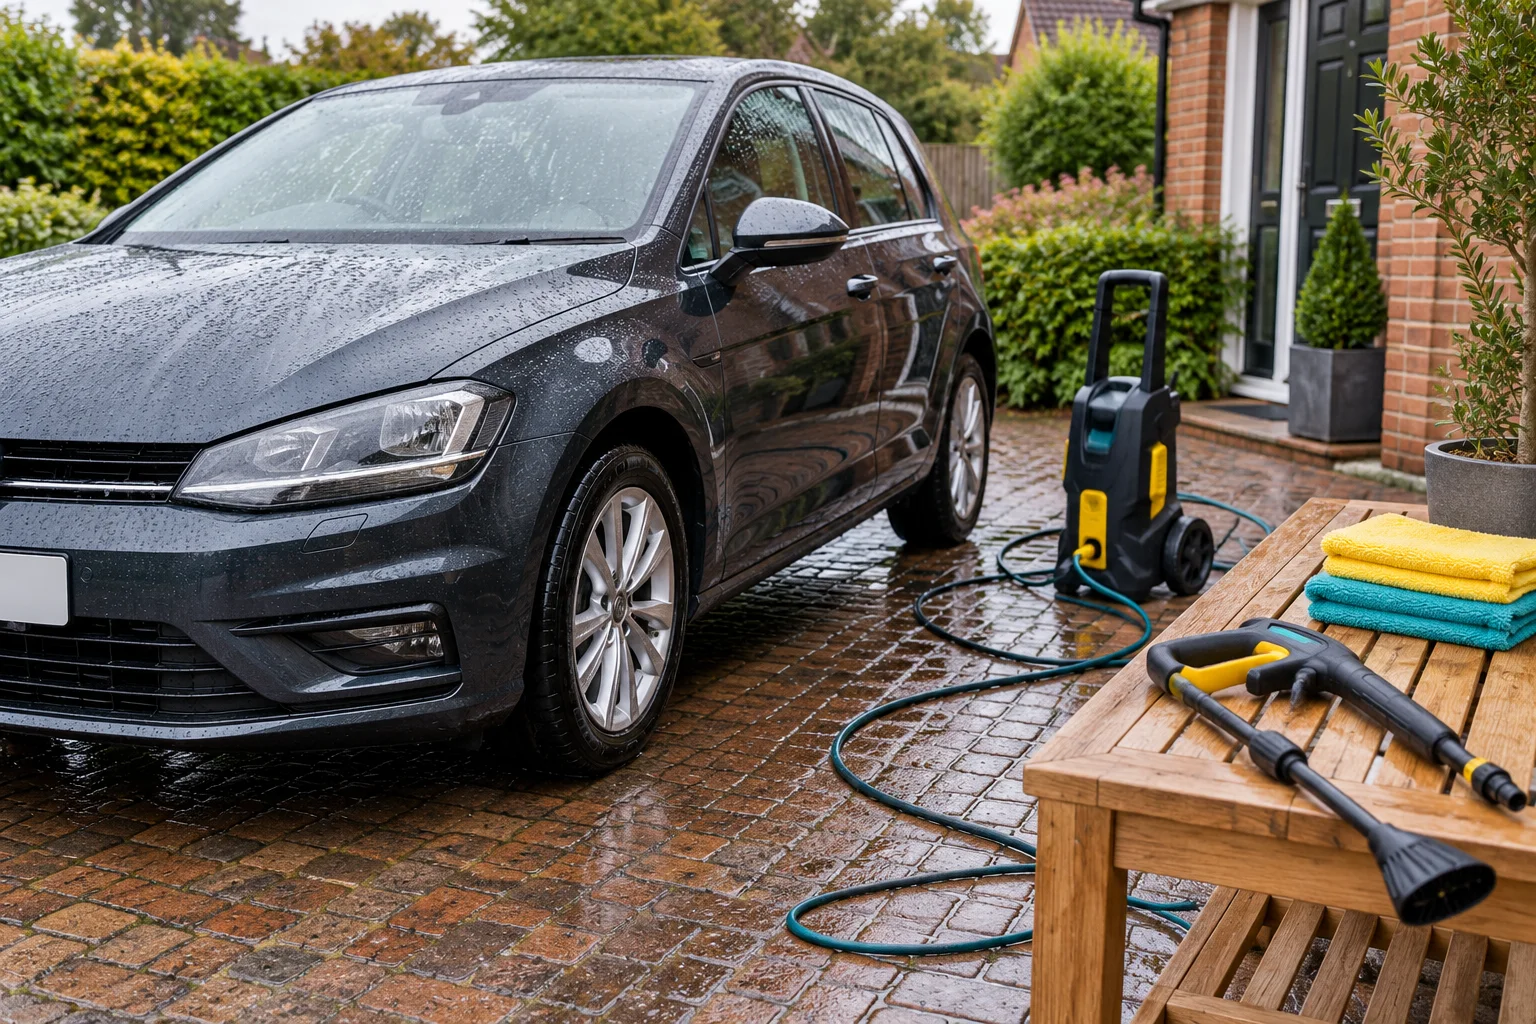
A pressure washer can make rinsing loose dirt and removing a pre-wash easier, but the useful setting is the one approved for the surface. Maximum pressure on the box is not a car-cleaning instruction. Begin with your exact machine’s manual, a sound vehicle finish and a wash sequence you can finish before products dry.
You can still wash a car with a suitable hose. This guide is for using pressure equipment you already have or are considering for a clear practical reason. It covers setup, rinsing and accessories rather than ranking machines.
Before you switch the machine on
Check the vehicle for lifting lacquer, loose trim, damaged seals, exposed repairs and any finish with special care instructions. A wrap, matt finish or recently repaired panel may change the cleaning method. Do not use a pressure jet to investigate an uncertain edge or force dirt out of an opening.
Let panels and wheels cool and choose a shaded place with enough room to move around the vehicle. Plan the hose route so it cannot drag across paint or create a trip point. Keep the water supply sufficient for the machine’s requirements, and check the hose, gun, cable and connectors for damage before use.
Follow the manual for electrical supply, outdoor connections, water connection, venting and startup. Keep connections arranged and protected as directed. Do not run a pump without its required water supply or keep operating through a fault in the hope that pressure will recover. Wear the protective equipment required by the machine and the cleaning chemical.
Choose the car-cleaning lance and setting
Fit the manufacturer-approved lance for painted surfaces. A rotating dirt-blaster or concentrated cleaning attachment intended for hard paving is not the default choice for a car. A wider-looking spray alone does not establish that a setting is appropriate: check the actual lance, pressure setting and distance together.
For a concrete example, the Kärcher K 5 Power Control manual identifies MEDIUM for cars, specifies a minimum 30cm spray distance on painted surfaces and excludes the dirt grinder from tyres, paint and sensitive surfaces. Those instructions belong to that equipment. They do not establish a universal 30cm rule for every nozzle or washer, or permission to clean damaged paint at that distance.
Keep the jet controlled and moving rather than concentrating on one small spot. Avoid directing it into seals, vents, cameras, electrical areas or an edge where the finish is compromised. If a deposit resists a suitable rinse, stop and identify it; moving closer is not automatically the next step.
Decide where pre-washing belongs
For an ordinary shampoo wash, rinse loose contamination before the mitt touches the bodywork. If you are using a pre-wash with its own dry- or wet-surface directions, follow that complete sequence and then rinse it off before the contact wash. Do not combine fragments of several methods.
A foam attachment is optional. The Kärcher FJ 6 is a compact example for the relevant K-series gun, with a separate detergent reservoir. It does not make every chemical suitable for the washer, and its bottle instructions should not be confused with the machine’s built-in detergent feed.
For a compact K-series foam attachment
Kärcher FJ 6 Foam Jet 600ml
A 600ml foam attachment with an adjustable detergent feed and spray direction. The selected listing is the nozzle on its own, rather than a shampoo or multipack bundle.
- 600ml reservoir
- Adjustable detergent feed
- K-series gun fitting
Kärcher specifies K 2–K 7 fit. Older M, 96 and 97 trigger guns require Adapter M; check the actual gun and the chemical instructions. Rinse through after use.
Before buying an attachment, identify the actual gun connection. The connector guide separates the gun-to-lance join from the hose connection and professional fittings. If an accessory will not engage and lock as designed, do not force it or test it under pressure.
Rinse the bodywork in a controlled route
Work around accessible surfaces without stretching the hose across the vehicle. Keep the recommended distance and angle as you move from large panels to detailed areas. Start with a manageable section if the weather or working space makes a full-car pass hard to control.
Keep a wheel stage separate from bodywork washing. Use the wheel cleaner’s own restrictions and avoid aiming a concentrated jet at tyres, valves or damaged finishes. Put dirty brushes and wheel rinse water aside before returning to the painted panels.
Rinsing removes loose material; it does not guarantee that traffic film, tar or mineral deposits have gone. Assess what remains before changing the chemical or reaching for the mitt. A pressure washer is not a substitute for the product-specific treatment of a persistent mark.
Continue with a correctly diluted contact wash
After the pre-wash has been rinsed away, use a compatible shampoo and a clean mitt for the contact stage. Foam in the earlier stage does not mean the remaining surface is ready for a drying towel. Keep wash and rinse water separate and inspect the mitt as you work.
Autoglym Foaming Car Wash is a bucket-shampoo option when you want washing separate from an added protective film. Dose it in the wash bucket according to its own label; do not pour that bucket mixture into a foam attachment and assume the final concentration will be the same.
For a clean-rinsing bucket wash
Autoglym Foaming Car Wash 1L
A pH-neutral shampoo without added finishing film. The 1-litre bottle is a separate purchase when you already own your wash tools or prefer a separate wax or sealant step.
- 1 litre concentrate
- No added finishing film
- Two capfuls per 10 litres
Autoglym specifies two capfuls in 10 litres of water. Keep panels cool, rinse thoroughly and do not let the solution dry. Check the label and safety data sheet for your pack.
The complete home-wash routine covers the mitt stage. Snow foam versus contact shampoo explains why the two chemical jobs are different even when both produce bubbles.
Rinse fully and finish the drying stage
Remove wash solution from panel edges, handles and accessible trim before it dries. A suitable rinse is followed by a deliberate drying step, unless a chosen wet-applied finish specifies a different method. Do not leave the car wet while putting the pressure equipment away.
A dedicated towel such as the MF2 gives the drying job its own clean textile. Use it on washed, rinsed surfaces, supporting the edges and moving to clean sections. It is not a way to wipe road film that the pressure rinse left behind.
For drying clean bodywork
Gtechniq MF2 Drying Towel
A 60 × 90cm, 450gsm microfibre towel intended for car drying. Its larger area gives you a dedicated drying tool instead of relying on a small polish-buffing cloth.
- 60 × 90cm
- 450gsm microfibre
- Dedicated drying towel
Use a light touch on clean bodywork after completing the chosen wash method. Inspect for grit, wash after use and follow the textile’s care label. A drying towel cannot make a dirty surface safe to wipe.
Shut down before disconnecting accessories
Release the trigger, secure the gun and follow the exact shutdown and pressure-release sequence in the manual. A motor that has stopped can still leave pressure trapped in the hose. Do not release couplings or unscrew an attachment until the system is fully depressurised.
Flush detergent equipment as instructed, inspect for leaks or damage and store it away from freezing conditions. If you notice a fault, keep the equipment out of use until the cause is resolved. For the foam attachment itself, use the lance-maintenance guide rather than treating the entire washer and every accessory as one serviceable part.
Check replacements as a complete system
Before changing a hose or gun, map the hose and quick-release connections. A short-trigger gun can need a different wand, nozzle and hose adapter; its higher component rating does not increase washer output.
Common questions
What pressure should I use on a car?
Use the setting, lance and distance specified for your machine and the vehicle surface. Maximum rated pressure is not the working instruction. The K 5 Power Control example in this guide is model-specific and should not be transferred to every washer.
How far should the nozzle stay from paint?
Follow the exact manual and any vehicle or finish restrictions. The cited K 5 Power Control manual specifies a minimum 30cm on painted surfaces, but a different nozzle or machine can have different instructions. Damaged paint requires separate advice.
Can I use a dirt-blaster nozzle on tyres?
Do not borrow a paving-cleaning attachment for this job. The cited Kärcher manual excludes the dirt grinder from tyres, paint and sensitive surfaces. Use the equipment’s approved method and keep uncertain or damaged surfaces out of the pressure-wash routine.
Does snow foam replace the mitt wash?
Not usually for a complete routine. A pre-wash loosens contamination before rinsing; a compatible contact shampoo and clean mitt deal with the next stage when needed. Follow any specific product exception rather than assuming a foam blanket proves the car is clean.
Can I change the foam lance while the motor is stopped?
Only after following the shutdown and depressurisation procedure. Pressure can remain trapped after the motor stops. Never pull a coupling collar or unscrew an accessory while the system is still pressurised.
Sources and product instructions
Follow the label and care instructions for the exact version and surface you own.