
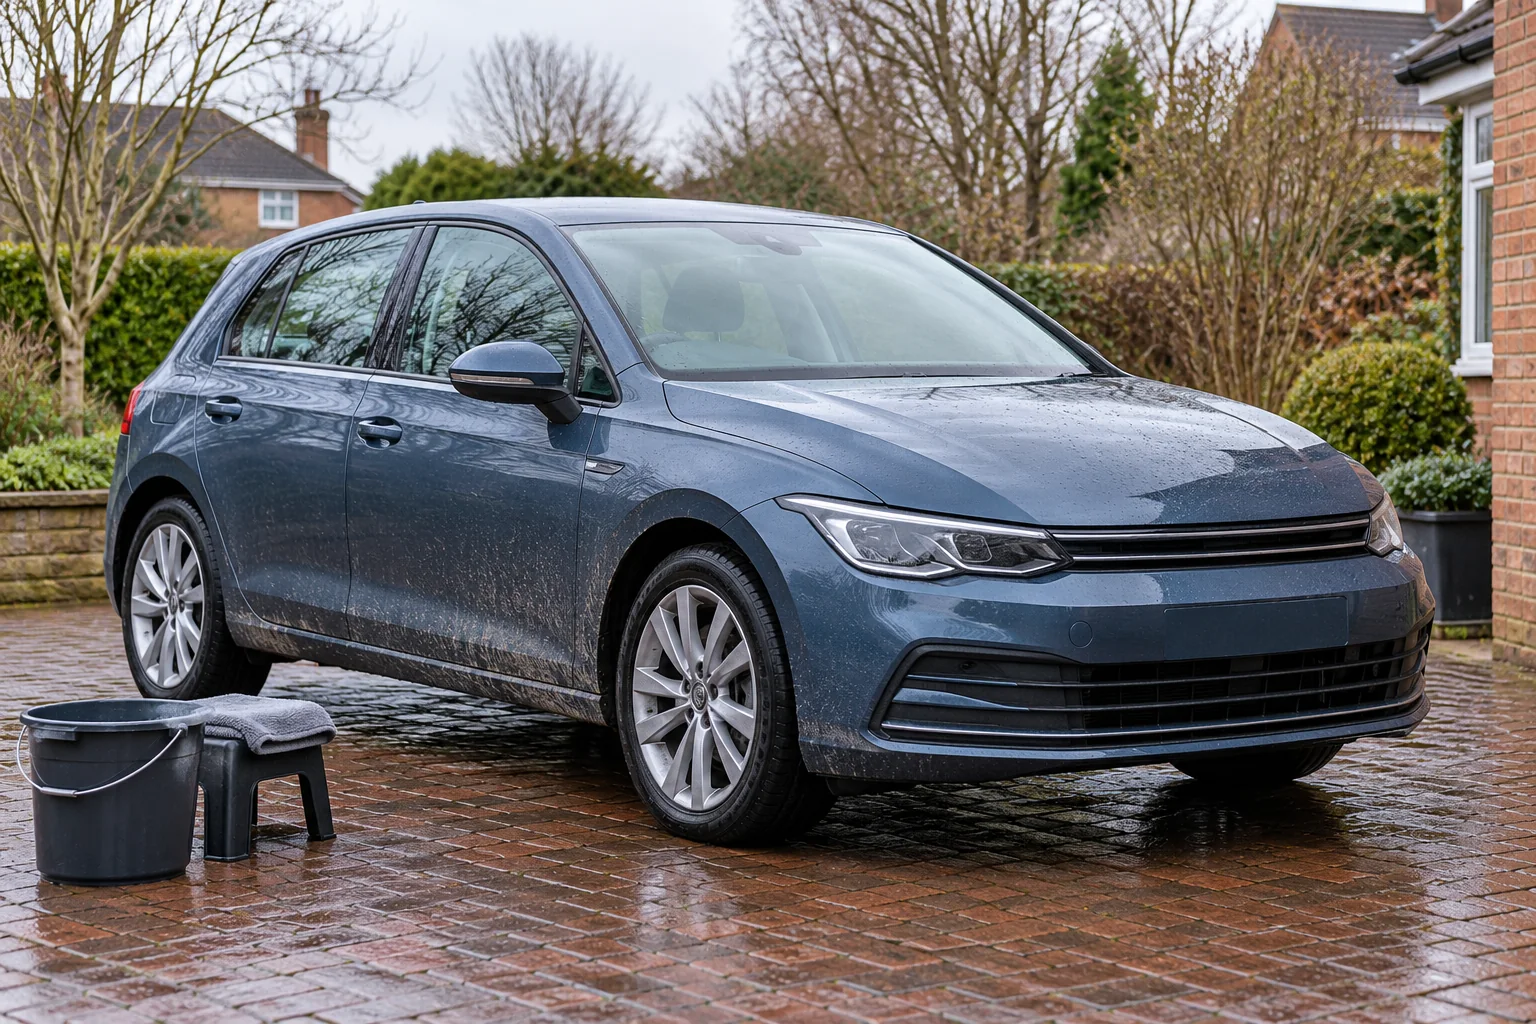
Make the winter routine smaller and more deliberate
Winter cleaning is easier to sustain when the job matches the available conditions. Salt exposure, damp mats and low-sun windscreen haze can matter more than chasing a showroom finish. Start with visibility and contamination, then choose the wash you can complete without leaving unsafe water or a wet cabin.
There is no single interval that suits every car. A vehicle used daily on treated roads sees a different load from one parked under cover. Inspect the lower doors, sills, wheel areas and glass, and use the vehicle maker's care instructions to decide what needs attention.
This is a cleaning routine, not a replacement for winter vehicle maintenance. Problems with brakes, tyres, lights, leaks or heating need the appropriate checks and repairs.
Check the conditions before setting out the kit
Do not begin a water-based wash if water or runoff could freeze, the paving is slippery or access is unsafe. Check the working surface and the car as well as the weather forecast. A brief warm-looking afternoon does not guarantee that shaded paving has thawed.
Choose a place where wash water is handled appropriately and follow the vehicle's washing guidance. If a driveway setup cannot provide a suitable working area or wastewater arrangement, use an appropriate washing facility. Avoid trailing hoses or cables across shared paths.
Allow enough light and time to rinse, dry and put equipment away. If the window is short, reduce the task or postpone it. Starting a long chemical sequence that you cannot finish creates more problems than leaving optional detailing for another day.
1. Clear glass and lights before judging the rest
Inspect the windscreen, windows, mirrors and accessible lights. Follow vehicle-specific care around cameras and sensors rather than treating them as ordinary painted panels. Clean enough to restore the required visibility before driving.
Inside the car, finish ordinary film with a compatible glass cleaner and dedicated cloths. Autoglym Fast Glass is a maintenance option for permitted glass; it does not replace demisting or fix a damp cabin. Keep direct spray off electronics and check tint instructions where relevant.
For a separate glass-cleaning job
Autoglym Fast Glass 500ml
A 500ml cleaner for interior and exterior glass, without abrasives, waxes or silicones. Useful when you need a glass cleaner but already own the rest of your wash kit.
- 500ml spray
- Interior and exterior glass
- No abrasives, waxes or silicones
Use dedicated clean cloths. Check tint-film and vehicle-screen guidance; apply to the cloth for compatible displays, never spray directly onto electronics.
Use the inside-glass method if streaks remain. For frozen exterior glass, use the vehicle's approved method rather than pouring hot water onto it or forcing frozen wipers.
2. Address salt and road film with a controlled exterior clean
Close windows and doors and follow the vehicle's preparation instructions, including charging restrictions where applicable. Start by rinsing loose contamination as directed. Do not dry-wipe a gritty lower door because only that panel looks dirty.
Check whether the car needs a pre-wash. It can be useful where road film would otherwise load the contact tool, but it does not guarantee a complete touchless clean. Use the chemical's permitted conditions and rinse before it dries.
A pre-wash option when you can control concentration
Bilt-Hamber Touch-Less is an option with a panel-concentration method. The correct bottle mix depends on the equipment's delivery, so do not transfer a recipe from another lance without checking it. The PIR explanation and calculator help with the calculation.
For a measured panel concentration
Bilt-Hamber Touch-Less 5L
A pre-wash that can be applied through suitable pressure equipment or a compatible pump sprayer. The selected 5-litre listing states a 0.5–2% panel-impact-ratio range, matching the manufacturer’s guidance.
- 5-litre concentrate
- 0.5–2% stated PIR
- Lance or compatible pump application
Use the exact pack’s dose and check the finish and application equipment. A lance needs calibration; a pump sprayer uses its final working mixture. Follow the 1–5-minute instruction without allowing drying.
Winter does not make a stronger-than-label mixture appropriate. If conditions make application, dwell or rinsing difficult to control, stop and choose another opportunity.
3. Contact-wash only after the loose dirt is removed
Where a contact wash is needed, use a compatible car shampoo at the correct dose with clean bodywork equipment. Keep wheel tools separate and refresh the mitt or water as contamination builds. Lower panels often need particular care because they collect splash and grit.
Gtechniq GWash is a shampoo option for a routine contact stage. Choose according to the exact vehicle finish and any existing protection system, then follow the bottle instructions. More foam in the bucket is not a measure of how much salt you have removed.
A standalone bucket-wash shampoo
Gtechniq GWash 500ml
A concentrated, pH-neutral shampoo for a regular contact wash. A useful single-bottle choice when you already own a mitt and towels and do not need another boxed set.
- 500ml concentrate
- Bucket-wash shampoo
- pH-neutral formulation
Use the dilution on your UK bottle. This is GWash, not Ceramic GWash or a snow-foam pre-wash; follow your coating or finish supplier’s care instructions.
Use cleaning road salt from bodywork for that specific task. Tar spots, iron contamination and exposed corrosion are separate issues and should not trigger an automatic stronger all-over wash.
4. Rinse and dry the accessible areas properly
Complete the rinse so cleaner does not remain in accessible panel edges and trim. Follow the vehicle's limits around locks, openings, cameras and sensitive areas. A pressure washer needs its own nozzle and distance checks; do not blast into a narrow gap to compensate for a missed area.
Use a clean suitable drying towel on clean bodywork, keeping it separate from dirtier sill cloths. The Gtechniq MF2 is a dedicated drying option; inspect it for contamination and follow its care directions before reuse.
For drying clean bodywork
Gtechniq MF2 Drying Towel
A 60 × 90cm, 450gsm microfibre towel intended for car drying. Its larger area gives you a dedicated drying tool instead of relying on a small polish-buffing cloth.
- 60 × 90cm
- 450gsm microfibre
- Dedicated drying towel
Use a light touch on clean bodywork after completing the chosen wash method. Inspect for grit, wash after use and follow the textile’s care label. A drying towel cannot make a dirty surface safe to wipe.
Wipe accessible door shuts or sills only with an appropriate separate method once the surrounding contamination is removed. Do not use a gritty sill cloth on the main panels. Follow the vehicle's after-wash directions, including any brake-drying guidance, before returning to normal use.
5. Remove wet interior material from the routine
Take out removable mats as instructed and inspect the floor beneath. Dry or clean the mats by their own material directions before refitting securely. Persistent moisture under a mat should prompt a check for its cause rather than another layer on top.
Vacuum dry dirt and keep damp upholstery work limited to what can be properly completed and dried. Avoid putting a dry-only handheld vacuum onto a wet mat. Use the interior sequence for a practical short clean.
6. Put equipment away ready for the next opportunity
Follow pressure-washer and lance instructions for draining and frost-safe storage. Do not assume leaving equipment in an unheated shed is adequate. Store chemicals within their stated limits and keep clean textiles dry and separate by job.
Make a note for yourself of damage or contamination that needs another kind of attention. A chip exposing metal, failing lacquer or a recurring wet footwell is not solved by a more elaborate seasonal wash. The routine should reveal those issues clearly, then leave the car dry, visible and ready for use.
Give glass and accessible seals their own checks
Use exterior-glass cleaning for film and rubber-seal cleaning for accessible contamination. Check rain-repellent suitability before considering an optional treatment; functioning wipers and washers remain necessary.
Common questions
How often should I wash a car in winter?
Use actual salt exposure, dirt and safe washing opportunities rather than a universal interval. Clean corrosive contamination promptly when conditions allow, following the vehicle guidance. A car driven on salted roads may need attention sooner than one kept off them.
Can I wash the car when it is freezing?
Do not start a water-based driveway wash where water or runoff could freeze or create unsafe footing. Wait for suitable conditions or use an appropriate professional facility. Air temperature alone does not settle the temperature of paving or the car.
Does a winter wash need stronger shampoo?
Not automatically. Use the correct product and label concentration, with a suitable pre-wash if needed. Increasing shampoo strength without permission does not replace proper rinsing or make a finish compatible.
Should I extract the seats during cold weather?
Only plan a wet upholstery job if the vehicle permits it and you can complete recovery and drying properly. A short dry interior clean may be more practical when the car must be used again soon.
Will wax stop road salt causing damage?
Do not rely on a protective product as a reason to leave salt on the car. A compatible protection system is a separate choice; it does not repair chips, corrosion or eliminate the need for cleaning.
Sources and product instructions
Follow the label and care instructions for the exact version and surface you own.