
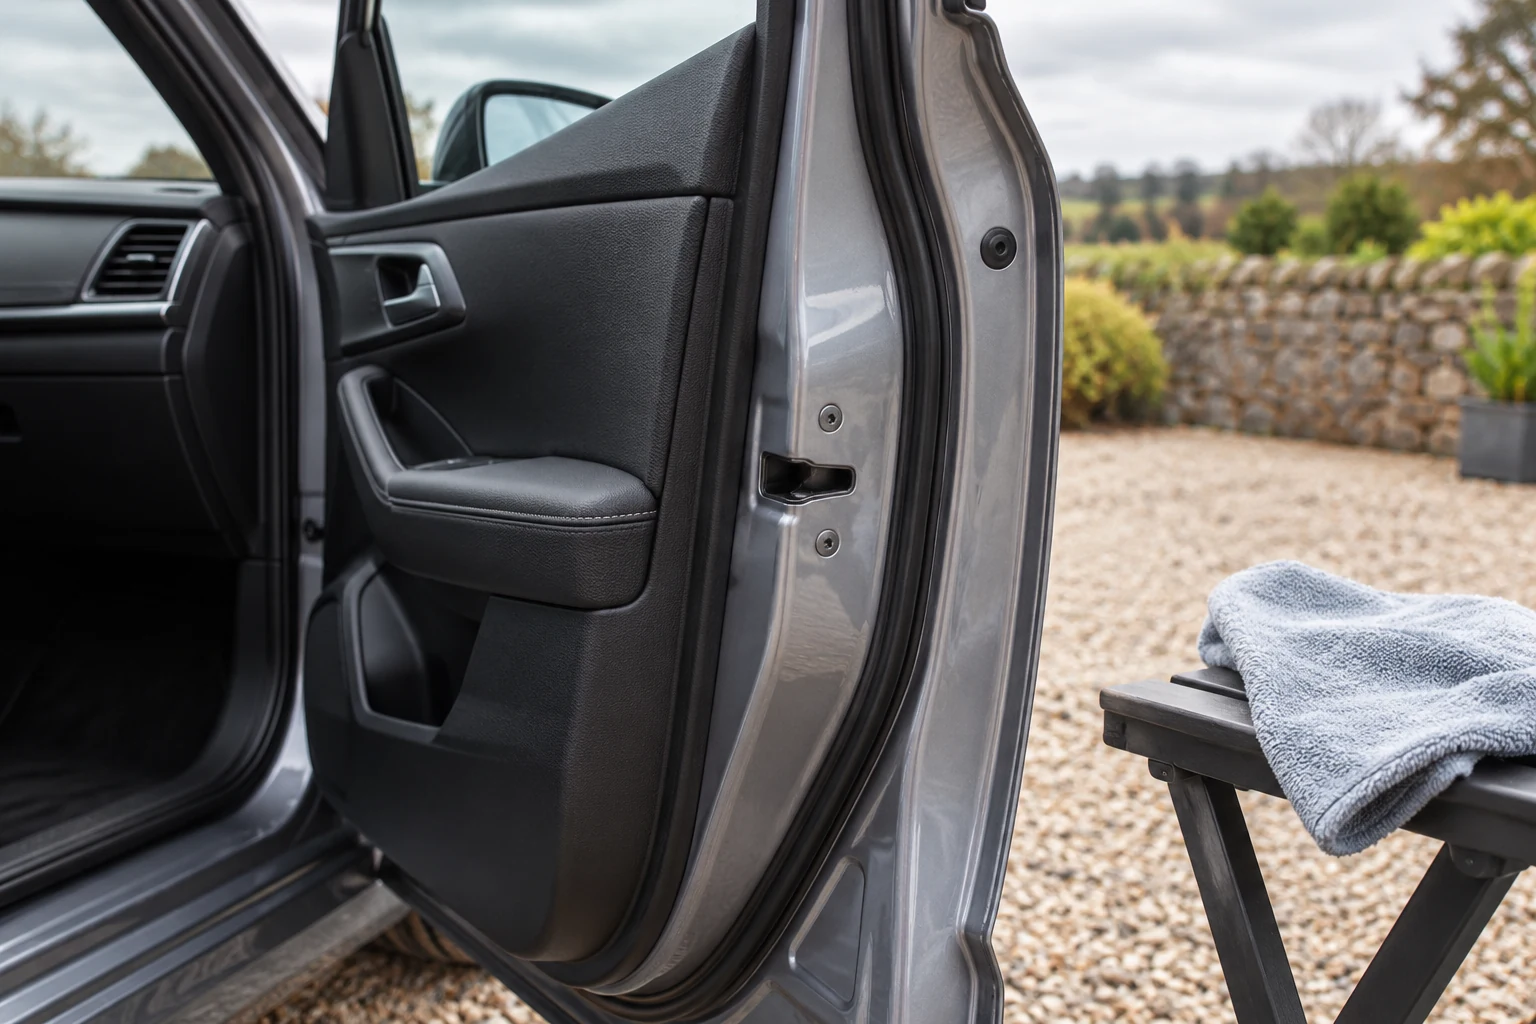
Separate cleaning from optional seal treatment
Exterior rubber seals collect dust, wash residue and dirt where doors and openings meet the body. A careful cleaning routine can remove accessible contamination, but it does not repair a split seal or cure an unexplained water leak. Start with the care instructions for the exact vehicle and the particular seal, because door weatherstrips, roof mouldings and moving window seals may have different limits.
The default task is modest: remove loose dirt by the permitted method, wipe accessible surfaces with a compatible mild cleaning solution where allowed, remove residue and dry as directed. Do not assume every seal needs a silicone dressing, lubricant or water-repellent product after cleaning. An optional treatment requires its own approval.
Panoramic-roof mouldings deserve particular care. Volvo’s XC40 guidance, for example, excludes wax on the rubber roof mouldings. That does not describe every vehicle, but it shows why a bottle labelled for rubber cannot override the handbook. Use the panoramic-roof guide for the roof’s washing and access decisions.
Identify the seal and inspect it first
With the car parked and the opening positioned as permitted, look at the accessible rubber and the surface it meets. Remove only loose debris that can be reached without lifting or pulling the seal. Note areas that are loose, cut, cracked or out of position before starting; repeated wiping will not seat a damaged component correctly.
Do not pull on a hollow weatherstrip, force a cloth behind a bonded edge or remove a trim panel to reach hidden dirt. If the car has frameless windows, follow the vehicle’s instructions for opening and closing the doors rather than interfering with glass movement. Keep fingers and cloths out of moving mechanisms.
A small inspection also helps separate the tasks:
- Ordinary dust or wash residue on intact accessible rubber: follow the permitted cleaning method.
- Sticky contamination or an unknown coating: identify it and obtain compatible removal advice.
- A split, loose or deformed seal: arrange vehicle or repair assessment.
- Water entering the cabin: investigate through the manufacturer’s route, rather than applying dressing over the suspected point.
- A roof or moving-window seal: use its specific care instructions before a generic rubber product.
Prepare clean cloths and a mild permitted solution
Use soft clean cloths that have not carried wax, tyre dressing or wheel cleaner. Keep one suitable face for cleaning and another for residue removal or drying. A cloth packed with dirt can move contamination along the seal and onto the painted contact area.
If the vehicle permits a normal shampoo solution, prepare it at the specified wash dilution. Gtechniq GWash is one routine wash option where the seal and finish instructions allow it. That does not make neat shampoo a stain remover or establish approval for every specialist seal coating.
A standalone bucket-wash shampoo
Gtechniq GWash 500ml
A concentrated, pH-neutral shampoo for a regular contact wash. A useful single-bottle choice when you already own a mitt and towels and do not need another boxed set.
- 500ml concentrate
- Bucket-wash shampoo
- pH-neutral formulation
Use the dilution on your UK bottle. This is GWash, not Ceramic GWash or a snow-foam pre-wash; follow your coating or finish supplier’s care instructions.
Control the amount of liquid. A damp cloth can often target an accessible surface more precisely than spraying across a door opening. Keep cleaner away from electrical parts, latch mechanisms and trim unless their instructions permit it. Avoid letting dirty runoff enter the cabin while the door is open.
Clean accessible rubber without changing its position
Follow the vehicle-approved method, using gentle passes with the clean cloth and compatible solution where permitted. Work a manageable section and turn to a fresh face as dirt transfers. Do not stretch the rubber to make it easier to wipe or scrub the same dry spot with increasing pressure.
Clean the accessible painted contact surface by its own approved method, using an appropriate clean cloth rather than transferring gritty seal residue onto it. Keep the roles distinct enough that a dirty cloth is not moved from rubber to a visible gloss surface without inspection.
Remove cleaning residue as directed. Some vehicle methods call for a clean damp wipe; others specify a controlled rinse. Follow that particular procedure, keeping water out of openings and mechanisms. Do not use a pressure-washer jet to force dirt out from behind weatherstrips.
Dry the accessible surfaces as instructed and check that no cloth or debris remains trapped before closing the opening. Do not slam a door to force a displaced seal back into position. If it no longer sits correctly, stop and obtain the appropriate assessment.
Decide whether a care product is permitted or needed
A clean intact seal does not automatically require another product. Check the handbook for an explicit maintenance treatment, any prohibited ingredients and instructions for the specific location. If the position is unclear, ask the vehicle maker before choosing a universal-looking silicone spray or trim dressing.
SONAX Rubber Protectant 03400000 is an optional care product where the vehicle permits it. The selected 100ml bottle has an integrated sponge applicator, giving a defined local application method. It is not a cleaning substitute and does not repair tears, worn profiles or water entry.
For optional seal care where the vehicle permits it
SONAX Rubber Protectant 100ml
A 100ml rubber-care bottle with sponge applicator. SONAX directs an even application to dry rubber, cloth wiping and leaving the door open for five minutes.
- 100ml bottle
- Integrated sponge applicator
- Five-minute door-open interval
Clean first and confirm vehicle approval for the particular seal. Not for pedals or bicycle/motorcycle wheels. A treatment does not repair split, loose or leaking seals; panoramic-roof mouldings may have different restrictions.
For an approved application, follow the received directions: the maker describes shaking the bottle, releasing liquid through the sponge, applying evenly to dry rubber and wiping with a cloth. It then specifies leaving the door open for five minutes. Arrange the work so that interval can be completed safely, and close the cap afterwards.
Keep the product away from pedals and other controls, as well as materials excluded by the vehicle. A manufacturer’s broad rubber-care description should not become a recommendation to coat tyre tread, brakes or every rubber part in the car. Roof mouldings may remain excluded even where a door seal is permitted.
Assess recurring problems instead of adding more product
| Observation | Useful next step | Avoid |
|---|---|---|
| Dirt returns quickly at one point | Check accessible contact surfaces and the source of contamination | Repeatedly saturating the same area |
| Seal looks split, loose or deformed | Vehicle/repair inspection | Pulling, gluing or trimming it as a cleaning fix |
| Door sticks or seal freezes repeatedly | Follow the vehicle’s winter seal-care advice | Assuming a generic product guarantees prevention |
| Water enters the cabin | Use the manufacturer’s leak-assessment route | Covering the suspected point with dressing |
| Roof edge seems blocked | Roof-specific accessible-debris advice or specialist help | Wire, compressed air or unapproved flushing |
Keep notes of where the issue appears and which approved cleaning or care product was used if you need professional help. Do not conceal a persistent leak under a fresh treatment and then continue normal washing as though the cause were resolved.
Fit seal care into an ordinary routine
Inspect accessible seals when cleaning door openings, after dirty weather or when the handbook calls for maintenance. There is no universal weekly dressing schedule. Use condition and the vehicle’s instructions to decide whether a clean is needed, and keep the method proportionate to the dirt actually present.
Afterwards, clean the cloths and store any rubber-care applicator separately from glass-finishing equipment. If you also dress exterior plastic, follow the trim-dressing guide for that different material. For seasonal planning, the winter routine puts bodywork, glass and accessible seal checks together without treating every surface as needing the same chemical.
Keep convertible-roof covering care separate
Use the fabric-roof or vinyl-roof guide for the covering. Fabric reproofing is a separate surface treatment and does not repair a leaking seal or drain.
Clean nearby paint without flooding the seals
Use the door-shut cleaning method for accessible painted ledges. Keep that cleaner and tool choice distinct from the vehicle-approved care for rubber, locks and lubricated mechanisms.
Common questions
Should I put silicone spray on every car door seal?
No. Follow the vehicle’s instructions for the particular seal and any ingredient restrictions. Cleaning and optional treatment are separate decisions; a generic silicone product is not universally approved.
Can I use shampoo to clean rubber seals?
Only where the vehicle permits a normal shampoo solution on that seal. Use the specified wash dilution, control the liquid and remove residue as directed. Do not use neat shampoo or a stronger cleaner by default.
How long should I leave the door open after SONAX Rubber Protectant?
For the selected 03400000 product, SONAX specifies five minutes after applying to dry rubber and wiping with a cloth. Use it only if the vehicle permits the treatment and follow the received label.
Will rubber protectant fix a leaking door seal?
No repair is established by applying a care product. Water entry, a loose seal or damaged rubber needs the vehicle maker’s diagnostic route or professional inspection. Do not cover the suspected point with dressing and assume the cause is resolved.
Can I clean roof seals in the same way as door seals?
Check separately. Roof mouldings and moving seals can have narrower restrictions; Volvo’s cited panoramic-roof guidance excludes wax on rubber roof mouldings. Do not probe hidden channels or extend door-seal treatment automatically.
Sources and product instructions
Follow the label and care instructions for the exact version and surface you own.