
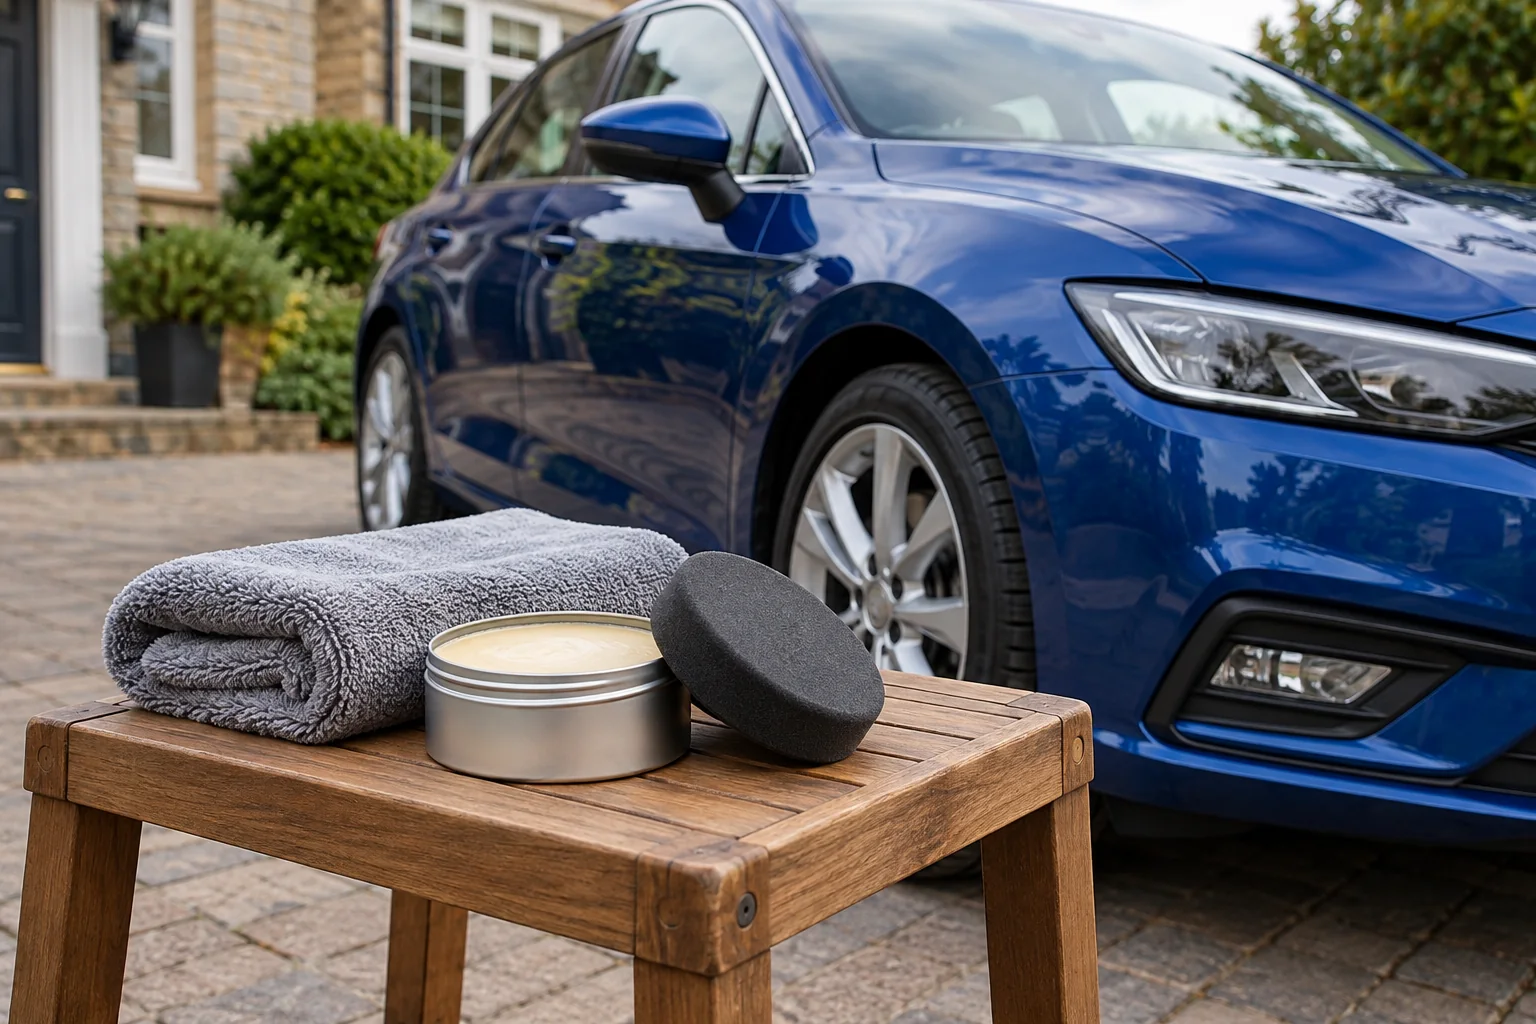
Choose for the routine you will actually finish
A simple car wax should fit the time and space available after washing. You need compatible paint, clean application tools, suitable conditions and enough access to remove the film properly. If the car is still dirty, the panels are hot or daylight is disappearing, buying a different tin will not solve the practical problem.
This guide compares two paste-wax kits by application requirements and included equipment. It does not rank measured durability or claim one produces a better shine in testing. If you need protection within the wet wash itself, compare spray-sealant methods before committing to a separate paste-wax session.
| Choice | Relevant difference | Preparation and limits |
|---|---|---|
| Autoglym Ultra High Definition Wax | 120g carnauba-based kit; applicator and finishing cloth | Clean, dry gloss paint; defined exclusions for matt/satin, wraps and unpainted trim |
| Bilt-Hamber Double Speed-Wax | 250ml non-abrasive paste wax; applicator and cloth | Prepared paint, cool shaded panels and a very thin film; check specialist finishes first |
Autoglym Ultra High Definition Wax: a defined application kit
Choose this when you want the wax, applicator and finishing cloth supplied together and can work on clean, dry paint. The relevant advantage is a coherent application setup, rather than a promise that a supplied cloth can never mark a panel. Inspect every tool and keep it away from wheel dirt or the ground.
Autoglym’s method uses a thin film and a dampened applicator. Its stated haze interval applies to this product in suitable conditions; it is not a waiting time for every wax. Establish how a small section removes before extending the application across more paint.
For a traditional thin-coat wax routine
Autoglym Ultra High Definition Wax 120g
A carnauba-based paste-wax kit with an applicator and finishing cloth. It suits owners who have time to work on clean, dry paint and remove a thin hazed film.
- 120g wax
- Applicator and cloth included
- Clean, dry paint
Exclude matt or satin finishes, wraps, satin vinyl decals and unpainted rubber or plastic. Use the specific kit directions; a thicker coat does not improve the application.
This is not the appropriate default for matt or satin paint, wraps, satin vinyl decals, or unpainted rubber and plastic. Masking or carefully avoiding excluded edges can help with ordinary gloss paintwork, but cannot make an excluded main surface suitable. Resolve finish compatibility before ordering.
Bilt-Hamber Double Speed-Wax: a larger non-abrasive tin
Double Speed-Wax suits a similar thin-film hand routine with a different preparation and removal sequence. Bilt-Hamber supplies an applicator and microfibre cloth with the wax. Check the received contents rather than buying duplicates immediately; the colour or appearance of supplied textiles can vary.
The maker emphasises cool paint, shade and a very thin coating using a damp, well-wrung applicator. Its own dulling interval differs from the Autoglym directions. This is a useful reminder to read the tin you own instead of transferring a familiar timing rule to a new formula.
For a larger paste-wax tin with application tools
Bilt-Hamber Double Speed-Wax 250ml
A non-abrasive carnauba paste wax supplied with a foam applicator and microfibre cloth. The maker specifies a very thin film on prepared paint in cool, shaded conditions.
- 250ml tin
- Applicator and cloth included
- Thin-film application
Check suitability for the actual finish and existing protection. Preparation is condition-dependent; this wax is not a scratch-removal product or a reason to clay every wash.
The wax is non-abrasive, so a visible scratch will not be removed simply by working it harder. Surface preparation and protection remain separate decisions. If the paint already has a coating or specialist finish, follow its care requirements before introducing another product.
What to check before buying
- Finish approval: conventional gloss paint, matt/satin, wrap and paint-protection film are not interchangeable.
- Existing protection: establish whether the coating or previous finish permits a wax top layer.
- Application conditions: choose a method you can complete on cool panels with suitable shelter.
- Included tools: both featured kits provide an applicator and cloth, although you may need an additional clean finishing cloth for the size of the job.
- Removal instructions: understand the product’s interval and section size before starting.
- Cleanup and storage: allow applicators and cloths to dry fully before putting the kit away.
Do not compare the 120g and 250ml sizes as though they were equivalent weights. Nor does a larger tin automatically mean a lower cost per application: loading, vehicle size, waste and the formula all affect consumption. An invented “cars per tin” figure would give false precision.
Prepare enough, without adding an entire correction project
Wash thoroughly and remove loose contamination first. Rinse away shampoo and dry according to the wax directions. Inspect panels and edges for residue, grit, sap, tar or rough bonded contamination. Deal with identified contamination through a suitable separate process; do not rub the wax applicator over material that has not been removed.
If the paint is clean and acceptable, correction is optional rather than a prerequisite. Wax, polish and sealant have different roles. A polish may refine or disguise defects, but repeated abrasive work is not ordinary wax maintenance.
Autoglym permits its Ultra High Definition Wax after Super Resin Polish. That specific pairing does not justify layering unrelated products. Where the base and wax makers give conflicting preparation instructions, simplify the routine or ask the manufacturer before applying both.
Apply one small area as a rehearsal
Use the exact tin’s directions for applicator dampness, film thickness and removal. A useful first section is small enough to inspect and finish without rushing. If removal is difficult, pause and review temperature, loading, interval and cloth condition instead of adding pressure.
Keep the applicator away from rubber seals and textured trim unless explicitly approved. Work carefully around badges and panel gaps, where heavy deposits create extra removal work. Change to a clean cloth face as residue builds; continuing with a loaded cloth can redistribute wax instead of clearing it.
A larger dose is rarely a sensible response to an uneven finish. Recheck the clean surface, product compatibility and technique. Persistent staining, soft or sticky paint, colour transfer or failing lacquer calls for assessment rather than repeated rubbing.
Make the next wash easier to manage
Wash the supplied tools according to their own care instructions. Keep wax applicators separate from cutting pads and store only when completely dry. A dedicated label such as “wax” is more useful than relying on a colour you may forget.
Maintain the car through a compatible wash and careful drying. Do not decide protection has failed solely because water sits differently on a dirty panel. Clean it properly first, then assess the result and the maker’s maintenance guidance. The most sustainable simple routine is one you can repeat without unnecessary correction, excessive product or a shelf of overlapping finishes.
Prepare only the contamination that needs attention
Use targeted tar removal or bodywork fallout removal where suitable identified deposits remain. Clay-bar use explains why mechanical treatment needs its own justification and lubrication checks.
Common questions
Is paste wax suitable for a beginner?
It can be, when the finish is compatible and the directions are manageable. Use a very thin film, work in suitable conditions and check removal on a small area before covering the car. A paste tin is not automatically harder or easier than every spray.
Should I buy 120g or 250ml wax?
Choose by the actual product and routine, not a direct comparison of those figures. Grams and millilitres measure different things, and useful applications depend on product loading and vehicle size. Both featured kits include application tools; neither has a verified cost-per-car figure here.
Do I need to clay the car before waxing?
Only if appropriate bonded contamination remains and the finish permits the treatment. Clean paint that feels acceptable after washing does not automatically require clay. Identify the contamination and use the least intrusive suitable method.
Can I wax unpainted plastic trim?
Do not assume so. Autoglym Ultra High Definition Wax excludes unpainted rubber and plastics. Avoid transferring an ordinary paint-wax recommendation to textured trim, matt paint, wraps or film without explicit approval.
How often should I reapply car wax?
Use the maker’s maintenance guidance and assess the real finish after washing. Weather, storage, preparation and washing products affect behaviour. Beading alone cannot measure remaining protection precisely, and there is no universal monthly schedule.
Sources and product instructions
Follow the label and care instructions for the exact version and surface you own.