
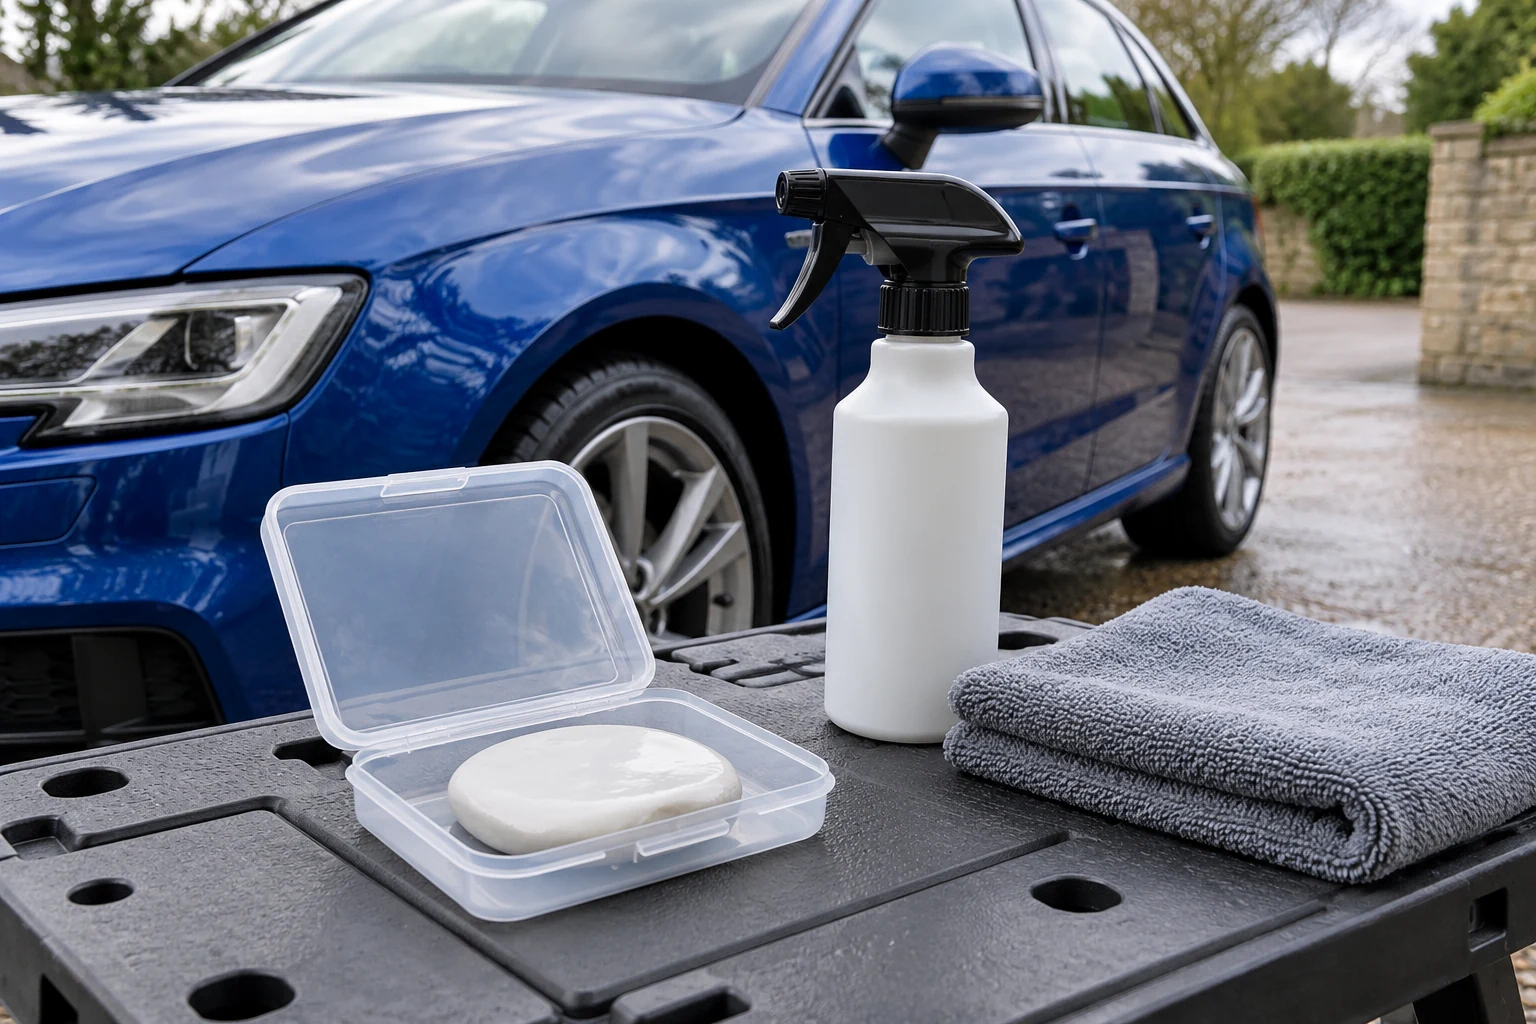
Understand what clay adds to the process
A detailing clay bar removes certain bonded surface deposits through mechanical contact. It is not a wash mitt, a scratch-removal compound or an automatic stage before every protective product. The reason to consider it is suitable contamination that remains after appropriate cleaning.
That contact has a cost: grit, contamination in the working face, insufficient lubrication and repeated passes can introduce marring. A smoother feel is not proof that no marks were added. Decide whether the actual paint and intended next steps justify the process before touching a panel.
Do not use general gloss-paint advice on matt or satin finishes, wraps, PPF or uncertain repairs without specific approval. A product kit can contain components with different surface restrictions, so check every stage.
Step 1: wash and identify remaining contamination
The clay-bar versus clay-mitt comparison explains tool, lubricant and cleanup differences. A reusable mitt changes handling; it does not remove the need to assess marring risk or prepare the surface.
Thoroughly wash the car through its compatible routine and remove loose dirt. Inspect the clean finish in good light. Avoid grinding a rough patch under a fingernail or using a plastic-bag test as though it certified the paint’s condition.
Where identified tar or iron fallout has an appropriate chemical treatment, consider that method first. Remove the chemical completely before introducing clay unless the exact system expressly permits a combined process. Do not use a solvent tar remover as an improvised lubricant.
If paint is acceptably clean for its next supported finishing step, leave clay out. A routine should address the car’s condition rather than fill every stage shown in a detailing demonstration.
| Question | Proceed only when | Pause when |
|---|---|---|
| Is the finish suitable? | Product and finish instructions align | Matt, film, repair or coating care is uncertain |
| Is there a reason for mechanical treatment? | Suitable bonded contamination remains after cleaning | Paint is already acceptable or the mark may be damage |
| Is the lubrication correct? | Exact bar and lubricant method are known | Water, shampoo or a detailer is being guessed |
| Is the working face clean? | Fresh usable clay face with no hard particles | Dropped, irretrievably dirty or damaged material |
| Can the result be inspected? | Useful light and time for controlled small sections | The surface drags, changes or cannot be monitored |
Step 2: choose a matched bar and lubricant
Meguiar’s Quik Clay Starter Kit contains an 80g bar and 473ml Quik Detailer. The detailer is the specified lubricant for that system, rather than a bottle to replace with whatever spray happens to be nearby. Have a separate suitable clean wiping cloth ready; the selected starter kit does not promise one.
Follow the received instructions for preparation, lubrication and working the clay. Keep the unused supply separate from the working piece and prevent grit reaching either the bar or bottle nozzle.
For a clay bar and its specified lubricant
Meguiar’s Quik Clay Starter Kit
A kit containing one 80g clay bar and 473ml Quik Detailer. It provides a matched lubricant and bar for removing suitable bonded contamination after washing.
- 80g clay bar
- 473ml Quik Detailer
- Wiping cloth separate
Add a clean suitable wiping cloth if needed; do not assume it is included. Keep clay and paint lubricated, fold to a clean face and discard dropped or irretrievably contaminated clay. Claying can still mar paint.
Autoglym’s Clay Detailing Complete Kit supplies a bar, Rapid Detailer, Super Resin Polish and a finishing cloth. Its method begins with washing and drying and uses the detailer on both clay and a small paint area before light straight-line movement.
The complete kit has more than one stage. Its instructions finish with Super Resin Polish, which has separate finish exclusions and hand-application directions. Choose the system only if the intended stages fit the car; do not assume the clay’s broad non-matt wording approves every included product everywhere.
For a bar, lubricant, polish and cloth together
Autoglym Clay Detailing Complete Kit
A clay bar kit with Rapid Detailer lubricant, Super Resin Polish and a Hi-Tech Finishing Cloth. The manufacturer gives a wash-and-dry preparation and light straight-line clay method.
- Clay bar and Rapid Detailer
- Super Resin Polish included
- Hi-Tech Finishing Cloth included
The clay’s broad non-matt wording does not approve every included product for every surface. Super Resin Polish has its own wrap, satin and trim exclusions and is hand-applied. Inspect the finish and each stage separately.
Step 3: prepare a clean working portion
Use the maker’s permitted portioning and shaping method. A manageable flattened working face is easier to inspect than an uncontrolled lump. Keep spare clay in clean storage so a dropped piece does not compromise the entire supply.
Check hands, gloves, cloths and the work area for grit. Do not put the clay on a bonnet, bucket rim or shelf that has not been kept clean. Colour alone cannot show whether a piece contains a hard fragment.
Make sure the panel is suitably cool and the working conditions match the product. Direct sun or a drying lubricant can turn a manageable section into a dragging contact patch.
Step 4: lubricate both contact surfaces
Apply the approved lubricant as directed to the paint and clay, then maintain a wet, freely moving contact. The bar should not be worked dry. If it begins to grab, stop and review lubrication, contamination and conditions before moving again.
Water-only guidance exists for specific products such as Bilt-Hamber Auto-Clay. It is an example of formulation-specific permission, not a universal rule. Equally, a random shampoo mixture or quick detailer is not approved simply because it feels slippery between fingers.
Keep lubricant clear of unintended areas according to its own surface restrictions. Treat it as part of the chosen system rather than an interchangeable background liquid.
Step 5: use small sections and inspect frequently
Use the maker’s light-contact movement over a manageable area. Do not press harder to force a resistant spot to disappear. Fold or knead as directed to expose a clean face, and inspect the working portion as contamination transfers.
Discard clay that cannot present a clean usable face. A piece dropped on the ground should leave the process immediately. Folding a contaminated outer surface inside does not establish that hard material will stay away from paint.
Remove residue through the specified cloth or cleanup method and inspect the result before moving to another section. Stop if you see new haze, marring, colour transfer or unfamiliar surface change. More passes are not a diagnosis.
Finish according to the chosen system
Complete the system’s cleanup and permitted finishing instructions. If correction is being considered, assess the actual paint rather than automatically reaching for compound. Clay removes deposits; it cannot repair a scratch or replace lacquer.
Use suitable protection where the finish and process call for it. Check coatings and installer requirements before adding another layer. If the result or remaining paint condition is uncertain, ask a suitable professional before continuing.
Clean and store reusable equipment according to its instructions, isolate dirty textiles and keep unused clay protected. The useful outcome is a controlled, justified treatment of suitable contamination, not claying on a fixed calendar.
Common questions
Do I need to clay before every wax application?
No. Claying is a separate mechanical-decontamination decision for suitable remaining bonded deposits. Clean, acceptable paint does not automatically need it, and repeated unnecessary contact can add marring.
Can I use water as clay lubricant?
Only where the exact clay maker permits it. Bilt-Hamber Auto-Clay has specific water-lubrication directions. The featured Meguiar’s and Autoglym kits provide their own specified detailer lubricant; do not transfer the water-only method to them.
Does a non-abrasive clay bar guarantee no scratches?
No. Trapped particles, unsuitable conditions, poor lubrication or excessive contact can mark paint. Non-abrasive product wording does not make contamination or technique irrelevant.
Can I reuse a clay bar after dropping it?
Discard the dropped working piece rather than trying to fold ground contamination inside it. Bilt-Hamber explicitly prohibits reuse after a drop. Prepare small working portions where the product permits so the unused supply remains separate.
Should I polish after claying?
Inspect the finish and follow the chosen product system. Some kits include a specified polishing step, while other routines use suitable protection after preparation. Do not make abrasive correction compulsory on every car; if the chosen kit’s finishing stage is unsuitable, select another supported process before starting.
Sources and product instructions
Follow the label and care instructions for the exact version and surface you own.
- Meguiar’s Quik Clay kit: 80g bar and 473ml Quik Detailer
- Meguiar’s UK catalogue: Quik Clay G1116EU and required Quik Detailer lubricant
- Autoglym Clay Detailing Complete Kit: lubrication, preparation and kit contents
- Bilt-Hamber Auto-Clay: its specific water-lubrication and dropped-bar directions
- Bilt-Hamber Auto-Clay instructions
- Autoglym Super Resin Polish: hand application and finish exclusions