
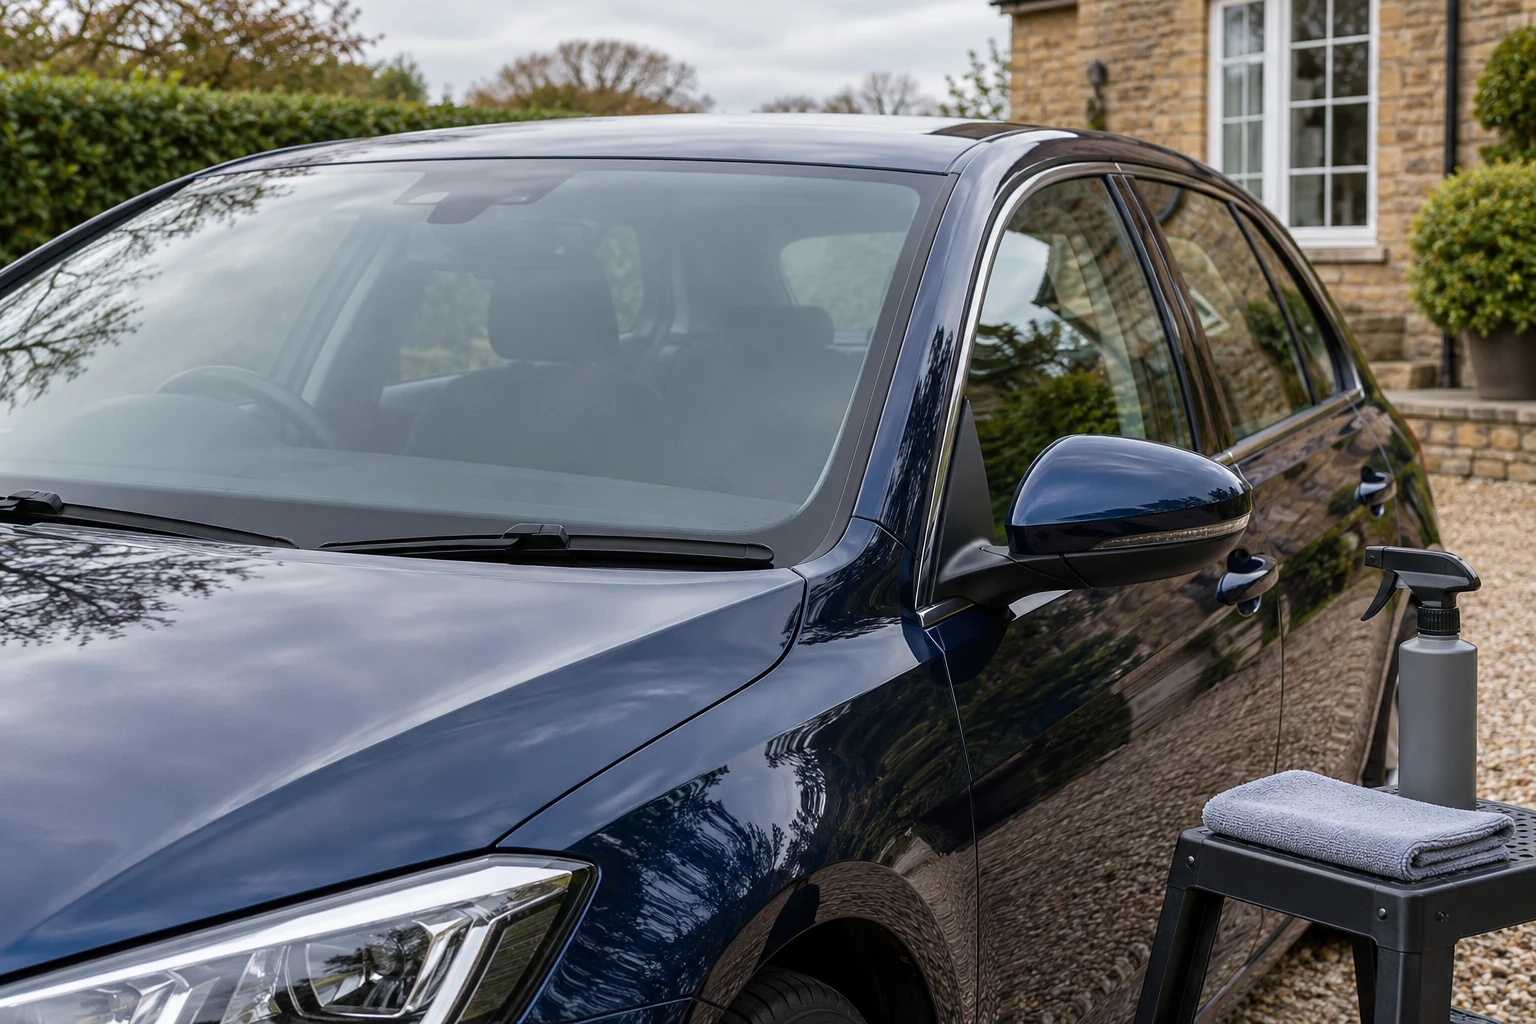
Start with washed glass, not a dry dusty pane
Exterior glass cleaning works best as a finishing stage after the loose dirt has been washed and rinsed away. A small glass cloth is useful for remaining film; it should not be asked to drag road grit across a windscreen. If the car is dusty or muddy, start with the home-washing routine and return to the glass once the main wash is complete.
Park where the glass is cool enough for a controlled clean. Work on a section you can reach comfortably without leaning across dirty paint. Check the vehicle instructions for wipers, glass coatings and camera areas before moving anything. Do not force a wiper arm up or assume every car permits the same parked service position.
The aim is a clear stationary inspection, with no remaining cleaner film or smeared residue. Scratches, stone chips, damaged tint and persistent marks in the glass are separate problems; more pressure on the same cloth is not a useful finishing technique.
Put the right things within reach
Choose a glass cleaner permitted for your glass and any treatment on it. Have a cleaning cloth, a separate dry finishing cloth and somewhere clean to put each. Fold a cloth into manageable faces, and change to a fresh face when it becomes dirty or too wet. The glass-cleaner buying guide explains why a routine spray and a cream glass polish are separate options.
- Keep glass cloths away from wax, tyre dressing and interior protectants.
- Put bottles on a stable surface rather than on the bonnet or roof.
- Check cloths for grit, hard residue and loose labels before touching the window.
- Treat plastic windows, applied films and coated glass according to their own instructions.
SONAX XTREME Glass Clear is one routine finishing option. The selected 500ml bottle is a cloth-applied glass cleaner, not a product to add to the washer reservoir.
For a routine exterior-glass finishing spray
SONAX XTREME Glass Clear 500ml
A 500ml glass cleaner for interior and exterior use. Its directions use a thin application, a suitable soft cloth and a fresh dry face or cloth to finish.
- 500ml trigger bottle
- Item 02382410
- Separate dry finishing cloth
Check vehicle, film and coating care first. Clean loose grit away before wiping; a routine glass spray does not repair scratches or automatically remove mineral etching.
1. Remove the remaining wash water
After rinsing, dry the car using the appropriate drying method. Address water collecting at window edges without pushing cloths into weatherstrips or pulling seals out of position. Drips from mirrors and upper edges can run back over a finished pane, so allow for them before the final glass inspection.
Do not rub an isolated gritty spot with the dry finishing cloth. If loose contamination remains, return to the permitted washing or softening stage locally. Keep the dry cloth clean for its intended job. This is also a good moment to spot insect remains that need their own suitable treatment, rather than spreading them over the windscreen.
2. Clean one reachable section
Use the amount and application route specified by your cleaner. With the selected SONAX, work with a thin application and a suitable soft cloth; keep spray controlled near adjacent materials. Wipe the section methodically, including the corners you can reach without forcing the cloth under trim. Overlap passes so there is no narrow untreated strip between them.
On a broad windscreen, cleaning one side at a time is often easier to control than stretching across the whole width. Move to the other side of the car when needed. You should be able to keep the cloth flat without pressing your sleeve or body against wet or dirty paint. If reach is awkward, change your position instead of increasing pressure.
A dedicated Gtechniq MF5 is an option for the glass-cloth role. One cloth does not have to perform every stage; its condition determines when a fresh cloth or face is needed.
A cloth reserved for glass
Gtechniq MF5 Power Glass Cloth
A 40 × 40cm microfibre cloth with a fishscale weave intended for glass cleaning. Keep it apart from wax and tyre-dressing textiles so residues do not travel onto the windows.
- 40 × 40cm
- Fishscale weave
- Single glass cloth
This listing is one cloth. A second clean cloth can help with a final buff. Wash as directed and check tint-film or display instructions before treating those surfaces like ordinary glass.
3. Finish with a clean dry face
Remove the remaining cleaner with a fresh dry face or separate finishing cloth as directed. If the cloth starts drawing wet tracks rather than leaving a clear surface, change it. Adding more cleaner to a saturated cloth usually makes this stage longer. Keep the cleaning and finishing cloths distinguishable as you move around the car.
Inspect from several angles in available light. A short move to the side can reveal a film that is invisible straight on. Work while stationary, and avoid judging clarity only from a photograph or from water beading. Beads show water behaviour; they do not prove that residue has been completely removed or that a windscreen is suitable for driving.
4. Check both faces before repeating the job
An inside smear can look like an exterior one. If the mark does not change when you clean the outside, check the inside face using the interior-glass routine. Using different wiping directions on the two faces can make it easier to recognise which side needs attention, but it is an inspection aid rather than a rule about which direction cleans better.
Check edges for fresh drips and re-finish only the affected section with a clean cloth. Do not lean into the car with a cloth contaminated by road film. Keep the interior-cleaning equipment separate enough that each remains suitable for its surface.
When ordinary glass cleaning is not enough
| What you see | Useful next check | Avoid |
|---|---|---|
| A smear that moves with the cloth | Fresh cloth, correct product amount and opposite face | Repeatedly adding liquid to the same wet cloth |
| A raised deposit or insect residue | Identify it and use a compatible softening method | Scraping with a blade or dry cloth |
| A persistent mineral-looking mark | Vehicle/glass advice on deposit versus damage | Assuming all spots need glass polishing |
| A chip, scratch or film damage | Professional glass or film assessment | Treating a cleaning cream as a repair |
On suitable untreated glass, a permitted cream cleaner may be a separate next step. Autoglym Car Glass Polish uses a thin-film, dry-and-buff sequence. It must not be carried across to aftermarket tint film, acrylic or plastic windows, and it does not override instructions prohibiting abrasive polishing on a panoramic roof. Keep it out of the routine if you cannot establish suitability.
For deeper cleaning of suitable untreated glass
Autoglym Car Glass Polish 500ml
A cream glass cleaner with a thin-film, dry-and-buff method. This selected current UK bottle is 500ml, distinct from older 325ml listings.
- 500ml cream
- Apply a thin film
- Allow to dry, then buff
Not for aftermarket tint film, Perspex, acrylic, plastic windows or infotainment screens. Vehicle and roof restrictions apply; do not use as a scratch repair or assume suitability for coated glass.
Wipers, cameras and the final check
Follow the vehicle’s cleaning instructions around the wiper blades and visible camera-view areas. Do not remove camera housings or try to clean behind a sealed assembly. A dirty exterior patch in front of a camera needs the approved exterior-glass method; persistent alerts or visibility problems need the vehicle maker’s advice.
Before using the car, confirm that the windscreen is clear and the wipers and washers work normally using the vehicle’s permitted stationary check. Avoid operating wipers on dry grit. If smearing or judder persists, separate blade condition, contamination and an existing treatment as possible issues rather than immediately adding another coating.
Rain-repellent application is an optional later decision, requiring vehicle approval and the product’s complete preparation and removal method. Clean glass can remain untreated. Roof glass also has a separate care guide because access, mouldings and surface instructions differ from an ordinary side window.
Common questions
Should I clean car glass before or after washing the car?
Use a glass-finishing spray after the main wash has removed loose dirt and grit. A dusty or muddy pane needs washing first. Deal with drips at the edges before the final dry-cloth finish.
Can I use a kitchen paper towel on exterior glass?
Use a clean soft material permitted by the chosen product and glass instructions. Some makers allow soft paper; others specify microfibre. Avoid rough, contaminated or printed materials and do not assume every paper towel is equivalent.
Why does the windscreen look clean outside but still smear?
Check the inside face, wiper condition and whether the finishing cloth carries dressing or wax residue. A mark that does not move during exterior cleaning may be inside the car or be damage rather than dirt.
Should I clay the windscreen to remove stubborn marks?
Do not add clay as an automatic step. Check vehicle, glass, film and coating instructions and identify the deposit first. A general paint-clay method does not establish suitability for every windscreen.
Do I need to apply rain repellent after cleaning?
No. It is optional and some vehicles restrict it on the front windscreen. Clean untreated glass is a valid outcome. If a treatment is permitted, follow its separate preparation, application and residue-removal directions.
Sources and product instructions
Follow the label and care instructions for the exact version and surface you own.