
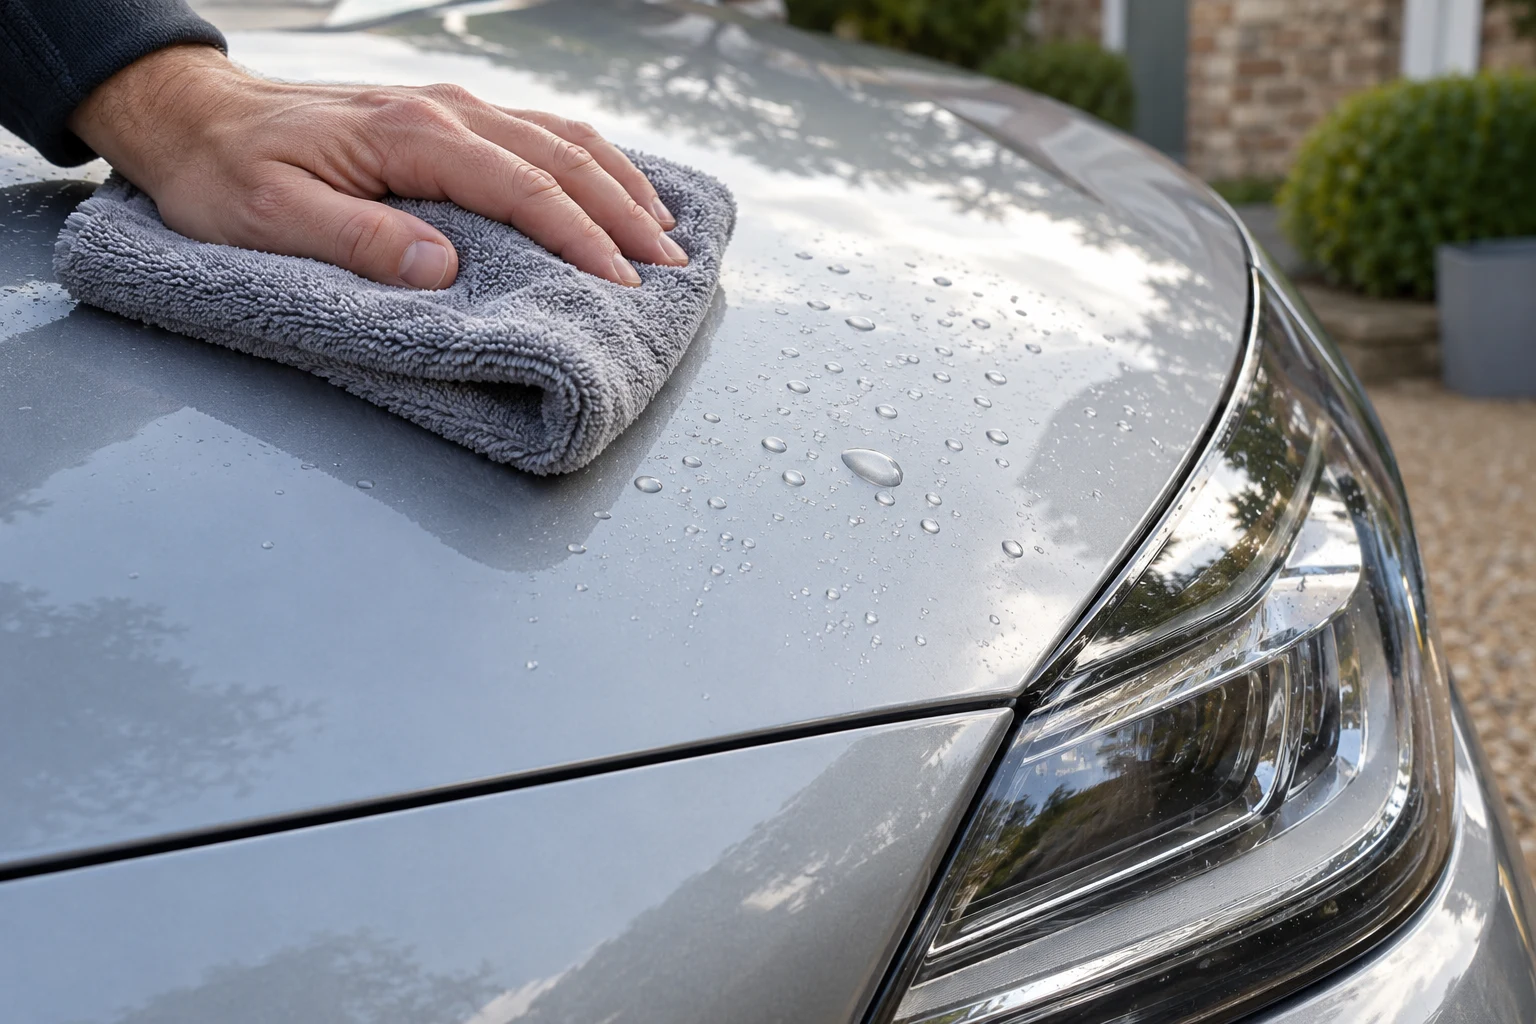
Know what is covering the paint
Paint-protection film, or PPF, is a physical film over the vehicle finish. It can be clear, coloured, gloss or satin, and it may also carry a ceramic coating. These combinations look similar from a distance but do not necessarily share the same cleaning allowances. Start with the film range and installer’s care sheet, not just the description “protected paint”.
Find out which panels are covered and where the edges lie. Partial bonnet installations, bumper sections and door cups create different contact points from a full-panel wrap. Look in good light before wetting the car. You do not need to lift an edge to identify it, and you should not pick at a join to decide whether it is secure.
New film needs a waiting period specified for the actual installation. XPEL’s current instructions distinguish 48-hour and 72-hour periods across its ranges. If the installer has also applied a coating, ask how both products affect the first wash. A generic “wait a couple of days” answer can miss that second stage.
Select tools for clean, controlled contact
A straightforward kit is a suitable shampoo, clean soft mitt, separate rinse arrangement and clean drying towel. You do not need a polish or solvent simply because the vehicle has expensive protection. Gtechniq includes GWash and soft wash/drying tools in its PPF and vinyl maintenance system; the film maker still decides suitability for your installation.
A standalone bucket-wash shampoo
Gtechniq GWash 500ml
A concentrated, pH-neutral shampoo for a regular contact wash. A useful single-bottle choice when you already own a mitt and towels and do not need another boxed set.
- 500ml concentrate
- Bucket-wash shampoo
- pH-neutral formulation
Use the dilution on your UK bottle. This is GWash, not Ceramic GWash or a snow-foam pre-wash; follow your coating or finish supplier’s care instructions.
Measure the shampoo against the water actually used. Do not add a second cleaner to the wash bucket to improve a stubborn patch. It makes the mixture harder to assess and can expose every panel to chemistry intended for one small problem. Keep specialist products separate until the film instructions establish a reason to use them.
Inspect tools before starting. A mitt that has been used on exhaust soot or a tyre dressing applicator does not become suitable for film after a quick rinse. Keep dirty lower-body tools separate from the clean upper-panel kit, and set any dropped tool aside.
A reusable bodywork wash tool
Meguiar’s Super Thick Microfibre Wash Mitt
A microfibre mitt for contact washing the bodywork. Meguiar’s specifies machine washing, so it can be cleaned and reused as part of your regular wash routine.
- Microfibre
- Machine washable
- Separate from wheel-cleaning tools
Rinse it frequently during the wash and keep it separate from wheel tools. A dirty mitt can mark paint; no mitt guarantees scratch-free washing.
Rinse loose dirt without attacking the edges
Work on cool panels out of direct sun. Start with gentle rinsing to carry away loose dirt, then reassess the surface. Water aimed underneath a film edge can create a different problem from dirt sitting on top of it. Avoid treating the edge as a channel that needs to be blasted clear.
If pressure washing is permitted, follow the complete film-specific conditions rather than copying a distance from an ordinary painted-car guide. Nozzle pattern, temperature, pressure and direction matter together. Use a gentler hose around joins, intricate bumper shapes and any questionable area.
Check the hose route as you move around the vehicle. It should not rub the film or catch a corner while you concentrate on the nozzle. A simple clear working area makes it easier to maintain controlled movement without leaning equipment against the bodywork.
Hand wash the surface in small areas
Wash cleaner upper panels first with light passes, keeping the mitt lubricated and cleaning it frequently. Continue to lower sections with fresh tools or water as needed. If a gritty area remains after rinsing, do not force it off by rubbing harder through the shampoo.
Rinse completed sections before the solution dries. Around badges, seams and film cut lines, keep cloths and mitts flat and controlled. Avoid hard detailing brushes, fingernails and folded towel corners pushed into gaps. Ordinary dirt does not justify lifting the film to reach underneath.
A mixed-surface car needs mixed decisions. Compare coated-paint care or wrap care when those are the actual adjacent surfaces; their specific permissions remain separate from the film’s. A gloss painted rear quarter, satin film-covered bonnet and plastic trim piece can each need a different finishing product. Keep the basic wash simple and leave optional protection until you have checked those differences.
Dry, then inspect the result
A clean soft towel helps remove water before deposits form. Use light contact, support the towel and change to a fresh area as it becomes wet. Do not allow corners to drag onto paving or catch the film around an edge.
For drying clean bodywork
Gtechniq MF2 Drying Towel
A 60 × 90cm, 450gsm microfibre towel intended for car drying. Its larger area gives you a dedicated drying tool instead of relying on a small polish-buffing cloth.
- 60 × 90cm
- 450gsm microfibre
- Dedicated drying towel
Use a light touch on clean bodywork after completing the chosen wash method. Inspect for grit, wash after use and follow the textile’s care label. A drying towel cannot make a dirty surface safe to wipe.
Water will collect around mirrors and handles even when broad panels look dry. Catch accessible drips gently after they emerge. Do not push cloths under film joins to chase hidden water. If the car is not fully clean, return to a suitable cleaning stage rather than using the drying towel to scrub the last patch.
Inspect when the surface is dry. Make a note of whether a mark follows a droplet, sits on a film edge or appears beneath the material. These observations help distinguish residue from a question that needs the installer. One clean photograph is often more useful than trying several products before asking.
Separate stains from ordinary wash dirt
Promptly address bird residue and insect remains with the mild method allowed for the film. Leave hardened or persistent material for a compatible spot-treatment decision instead of scraping it. A product’s suitability for bare paint is not evidence of film compatibility.
Some XPEL instructions include specific solvent or clay allowances for named films. They do not establish a general method for every PPF, coating, adjacent trim or repaired panel. Follow the exact range instructions or ask the installer to carry out the work. Keep paint-only tar removers out of the film routine unless explicitly approved.
Likewise, do not assume an iron-remover colour change proves a surface needs repeated chemical treatment. The question is whether the film maker allows the product and whether contamination remains after the permitted process. Avoid turning occasional decontamination into a default wash stage.
Treat self-healing as a product feature with limits
Some films can recover from certain light surface marks under specified conditions. That does not mean a cut, dent, stain or damaged adhesive can be healed at home. Nor does it mean heat is harmless to nearby paint, trim or sensors.
Do not use a heat gun, kettle or steam cleaner as a generic scratch-removal tool. Ask the installer to identify the film and assess the mark. If a defect is underneath the film or crosses a lifted edge, outer-surface polishing will not address its cause.
Decide whether an extra protective layer is useful
Only apply a sealant, wax or maintenance spray that the film maker permits for that finish and any coating already present. A gloss-enhancing product may be unsuitable for satin film. Avoid copying the finishing stage from a gloss paint routine simply because the wash stages look familiar.
A manageable maintenance plan has clear limits: wash gently, dry, inspect and keep the tools clean. Refer spreading edge lift, persistent staining, trapped debris, cracking or damage to the installer. Do not trim, peel or glue film during cleaning. Protecting the original installation is more valuable than making a difficult mark disappear at any cost.
Common questions
When can I wash new paint-protection film?
Check the exact film and installer instructions. XPEL lists 48 hours for several Ultimate and Stealth films and 72 hours for COLOR PPF. A coating applied over the film can add separate restrictions.
Can I use normal car shampoo on PPF?
Only where the film and any coating permit it. Use a suitable mild product at its label dilution. A shampoo’s suitability does not establish approval for every other chemical in the same brand.
Can I remove a PPF scratch with hot water?
Do not use a generic heating method. Self-healing claims apply to particular films and limited surface marks. Let the installer identify the film and damage before applying heat or attempting correction.
Should I clay paint-protection film?
It depends on the named film and its condition. Some makers allow a specific method, but it can introduce marring or catch edges. It is not a routine step; seek the installer’s guidance for bonded contamination.
Does a mark under the film need stronger cleaning?
No. A mark beneath the film, lifting edge or installation issue cannot be cleaned from the outer surface. Photograph it and contact the installer without picking or peeling the film.
Sources and product instructions
Follow the label and care instructions for the exact version and surface you own.