
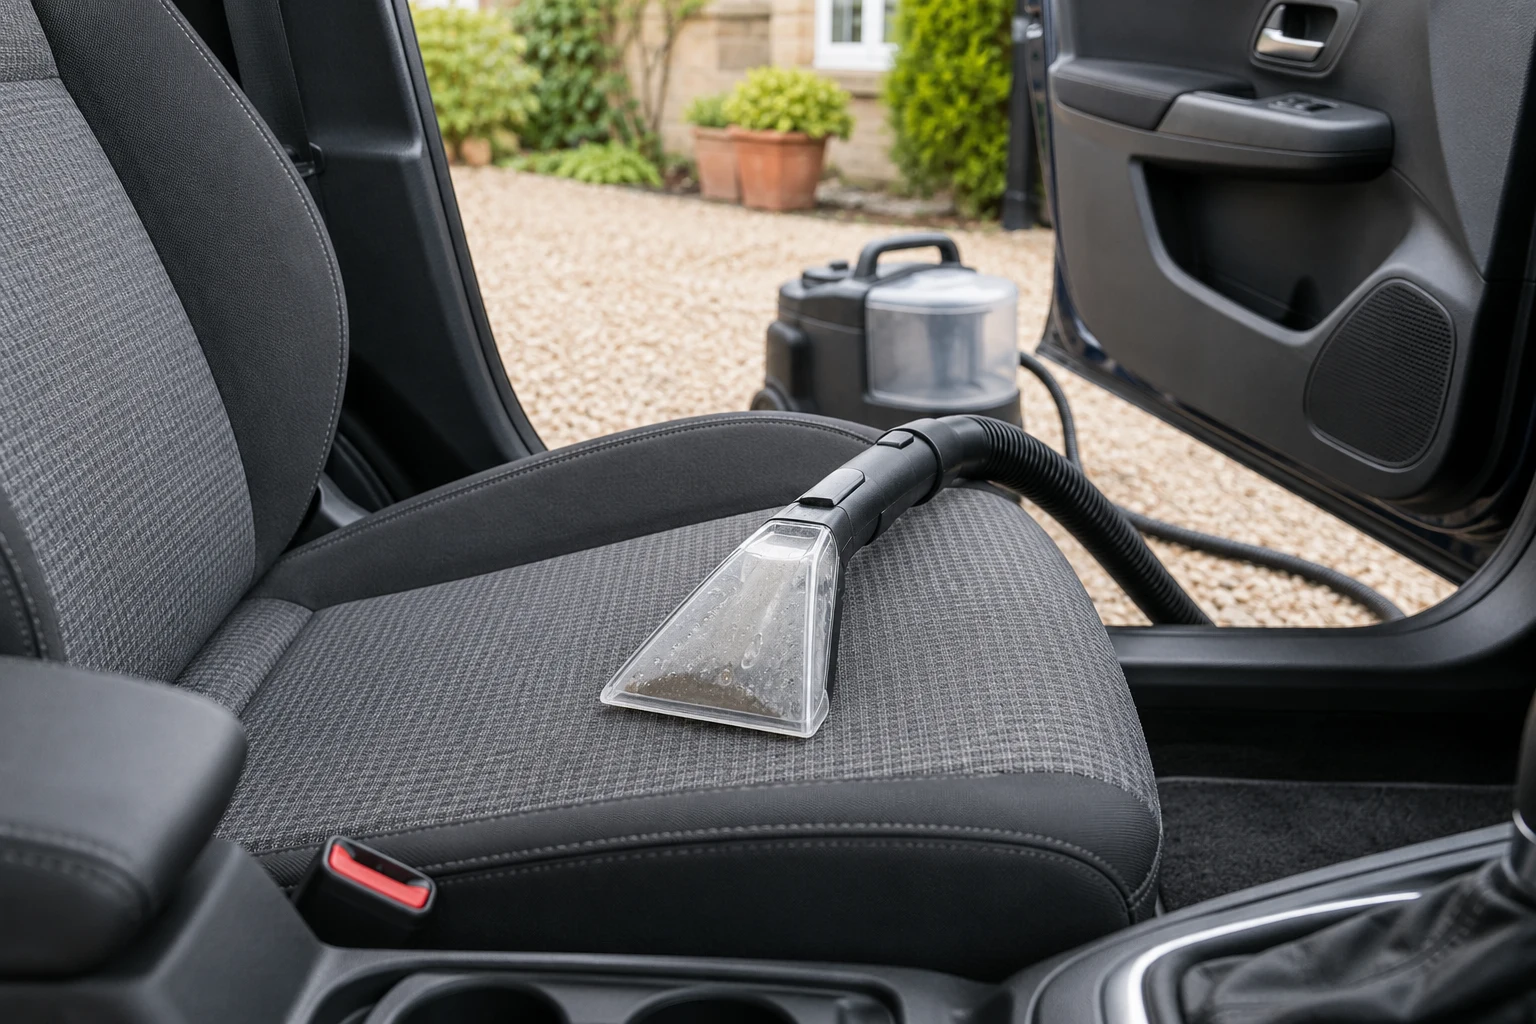
Confirm that the installed seat permits extraction
Use an upholstery extractor on car seats only when both the covering and the complete seat assembly allow the method. A fabric face can sit over padding, adhesives, sensors, heating elements and ventilation channels. A machine’s car-seat photograph or a detergent’s textile claim does not establish permission for that whole assembly.
Read the vehicle’s seat-care instructions, the extractor manual and the selected detergent label before applying liquid. If they conflict, do not improvise a compromise. Follow the narrower limit or ask the vehicle and equipment makers for clarification. A controlled fabric-seat surface clean may be the appropriate routine instead.
Do not remove seats, disconnect wiring, open upholstery seams or use this method on a child restraint as part of the job. Mould, contaminated floodwater, deep saturation and persistent damp odour need a different assessment. This guide is for permitted routine cleaning of compatible seats, not remediation or a guarantee of disinfection.
Set up the drying opportunity before the machine
Choose a time when the seat can remain unused until properly dry. Arrange secure, weather-appropriate ventilation without exposing the equipment to rain or allowing water into the cabin. A cold damp day and an essential journey shortly afterwards may make postponing the wet stage more sensible.
Plan the machine’s stable position, cable and hose route according to its manual. Keep the electrical supply and connections dry, fully unwind cable as directed and avoid stretching it through an awkward door route. Keep equipment and hands clear before moving a powered seat. Use only the supplied or explicitly compatible tool for the job.
Have clean cloths, the correct measured detergent and a suitable disposal/cleanup arrangement ready. Mixing an unidentified bottle in the middle of cleaning makes both dosing and troubleshooting harder.
1. Remove loose dry debris separately
Collect hard objects and vacuum crumbs, grit and loose hair with a suitable dry vacuum and material-approved attachments. Keep hard nozzle edges from rubbing over the covering. Do not force a tool into a seam or behind a seat component to reach something you cannot see.
The portable extractors discussed here are not substitutes for this dry stage. Kärcher’s SE 3 Compact manual explicitly excludes dry vacuuming. Releasing the spray trigger later for a suction-only pass means liquid recovery without adding solution; it does not make the tool suitable for collecting dry crumbs.
If you also need a machine for ordinary liquid pickup, that is a wet-and-dry vacuum decision. Keep the equipment roles clear before deciding which hose to use.
2. Test the permitted system on the actual covering
Test discreetly on the same material, using the approved product and process. Check for colour transfer, water marking, altered texture and other changes, allowing the test to dry before deciding it is acceptable. A test on an adjacent plastic trim panel does not establish fabric colourfastness.
If the test changes the covering or the vehicle excludes extraction, stop the wet method. Do not dilute an unsuitable ready-to-use chemical at random or add a second cleaner to cancel its effects. Establish a permitted alternative first.
3. Fill the machine by its own instructions
Keep the two systems below separate. Tank sizes, formula families and filling methods differ. A maximum temperature in a machine manual is a ceiling, not an instruction to use water that hot on every seat. The seat and detergent may impose a lower limit.
Kärcher SE 3 Compact Home and RM 519
Use the received SE instructions for the 1.7L fresh-water tank and a compatible Kärcher SE detergent. Fit the tanks, hose and upholstery nozzle correctly before operation. The selected Home system is a mains machine with a combined spray/suction hose; do not copy setup from a battery version or a larger multifunction SE model.
For a compact upholstery spray-extraction system
Kärcher SE 3 Compact Home
A corded spray extractor with separate 1.7L fresh and 2.9L waste-water tanks, a 1.9m spray/suction hose and upholstery and crevice extraction nozzles. The UK Home pack lists a 100ml RM 519 starter supply.
- 1.7L fresh / 2.9L waste tanks
- 1.9m spray/suction hose
- Dry vacuum needed separately
The machine has no dry-vacuum function. Confirm seat approval before wet cleaning; follow the received machine, detergent and nozzle instructions. Do not confuse this mains model with the SE 3-18 battery version or assume larger floor tools are included.
RM 519 is the matching detergent option shown here. Measure and dilute by the actual machine and bottle directions, and respect the filling mark. Do not add an ordinary interior spray or the BISSELL formula to this tank merely because both clean textiles.
For the compatible Kärcher SE extraction system
Kärcher RM 519 Carpet Cleaner 1L
A one-litre concentrate listed by Kärcher for compatible SE spray-extraction cleaners and suitable textile surfaces. It is a machine detergent, separate from an ordinary hand-applied interior spray.
- 1L concentrate
- RM 519 / 6.295-771.0
- Dose for the approved SE system
Use the exact bottle and machine dosing directions together and confirm the seat covering and assembly permit extraction. Do not use neat, substitute into the BISSELL system automatically or assume low residual moisture means a dry cushion.
BISSELL SpotClean Pro 1558E and its specified formula
Read the actual 1558E filling instructions and use the formula family they specify. The selected Pro differs from some other portable SpotClean models; a similarly named bottle or online bundle does not establish compatibility.
For a portable spray extractor with a 2.8L clean tank
BISSELL SpotClean Pro 1558E
A mains-powered portable spot and upholstery cleaner with a 2.8L clean tank, hose and hand-tool system. It applies a permitted cleaning solution and recovers dirty liquid; loose dry debris must be vacuumed separately first.
- Model 1558E
- 2.8L clean tank
- Separate dry pickup first
Use the formula family and filling directions specified for the actual 1558E. Its manual differs from some smaller SpotClean models; generic bundles and similarly named formulas are not compatibility proof. Seat, temperature and drying limits still apply.
Wash & Protect Pro 1089N 1.5L is an option in the full-size formula family specified by the 1558-series guide. Follow the received instructions rather than transferring a recipe from another portable cleaner or using neat concentrate on the seat.
For the specified SpotClean Pro formula family
BISSELL Wash & Protect Pro 1.5L
A 1.5L concentrated extraction formula. BISSELL’s 1558-series instructions specify the Wash & Protect full-size formula family; this selected bottle is 1089N, not the 1084 Spot & Stain formula.
- 1.5L bottle
- Formula 1089N
- Match the 1558E instructions
Follow the actual machine fill marks and received formula directions. Do not transfer a portable-SpotClean recipe to the Pro or use the bottle in another brand merely because it is described as carpet shampoo. Confirm upholstery approval.
4. Make a controlled extraction pass
Follow the machine’s permitted upholstery sequence and use a manageable section. Apply only the solution required by that process and recover it with the tool held in suitable contact with the covering. Work methodically without catching piping or forcing the tool against a seam.
With the SE 3 method, pull the nozzle backwards over the surface in overlapping paths as directed. Release the spray lever for the prescribed recovery stage, so additional passes remove liquid rather than continually adding it. BISSELL’s hand-tool method has its own application and recovery sequence; keep those instructions with the actual tool.
Do not chase a remaining shadow with repeated soaking. More dark water in the recovery tank is not proof that the seat is becoming proportionately cleaner. If the surface changes, recovery becomes weak or moisture is difficult to control, stop adding solution and reassess.
Use any required clear-water removal stage only where the seat and complete system permit it. Do not turn “rinse” into flooding the cushion. Residue removal and recovery need to be planned together so that the finishing step does not introduce more moisture than you can manage.
5. Watch recovery and stop at the machine’s limit
Check the waste-water level and follow the manual’s stop-and-empty instructions. A full tank or float intervention can change the sound and reduce recovery; do not continue spraying in the hope that the tool will catch up. Switch off and disconnect as directed before emptying, clearing a tool or investigating a problem.
If foam appears excessively, check the formula identity, dose and machine instructions. Do not add a household defoaming mixture. If the hose or nozzle is obstructed, use the approved cleaning procedure rather than dismantling unfamiliar parts while the machine is powered.
6. Dry, inspect and clean the equipment
Allow the seat to dry properly before use, with the permitted ventilation and no improvised heat. Do not rely solely on a dry-looking surface or switch on seat heating as a universal shortcut. If dampness or odour persists, obtain an appropriate assessment instead of masking it with fragrance.
Judge colour and feel after drying. A remaining ring, tacky surface or altered texture may require review of residue removal, compatibility or the original stain. Do not automatically repeat a full extraction session.
Complete the machine’s after-use care. The SE 3 has a prescribed system-cleaning process; BISSELL specifies its own tank, hose and tool cleanup. Empty dirty liquid appropriately, rinse and dry permitted parts and store the equipment as instructed. Putting a dirty damp machine away makes the next clean harder to control.
For future cleaning, return to lighter dry maintenance and targeted permitted surface care. Use the extractor buying guide for the complete equipment comparison, rather than treating machine extraction as a compulsory step in every interior clean.
Common questions
Can I extract any fabric car seat?
No. Both the covering and the installed seat assembly must permit it. Heating, ventilation, sensors, airbags, seams and adhesives can impose limits even when the textile itself accepts a cleaner.
Do I hold the spray trigger for every pass?
Follow the exact machine method. Recovery passes without more spray are a separate stage; continually adding solution can make moisture difficult to control. Suction-only recovery does not mean dry debris pickup.
What if the machine gets louder and stops recovering water?
Stop adding solution and follow the manual’s checks for a full waste tank, float intervention or another recovery problem. Switch off and disconnect as directed before emptying or clearing anything.
Can I add hand-applied interior cleaner to the tank?
Only if the machine explicitly approves that exact product and method. The ordinary hand sprays featured elsewhere are not automatic extraction detergents. Use the permitted formula and its correct dose.
Is the seat ready when the top feels dry?
Not necessarily. Moisture can remain below the covering. Allow proper drying according to the vehicle and method, and do not use seat heating or an improvised heater as a universal shortcut.
Sources and product instructions
Follow the label and care instructions for the exact version and surface you own.
- Kärcher SE 3 Compact Home manual: no dry pickup, extraction and system cleaning
- Kärcher RM 519 1L: product identity and compatible SE machines
- BISSELL SpotClean Pro 1558E user guide: preparation, extraction and machine care
- BISSELL 1558-series guide: permitted full-size formula family
- BISSELL Wash & Protect Pro 1089N 1.5L: formula identity
- Tesla Model Y: seat materials, screens and interior cleaning limits