
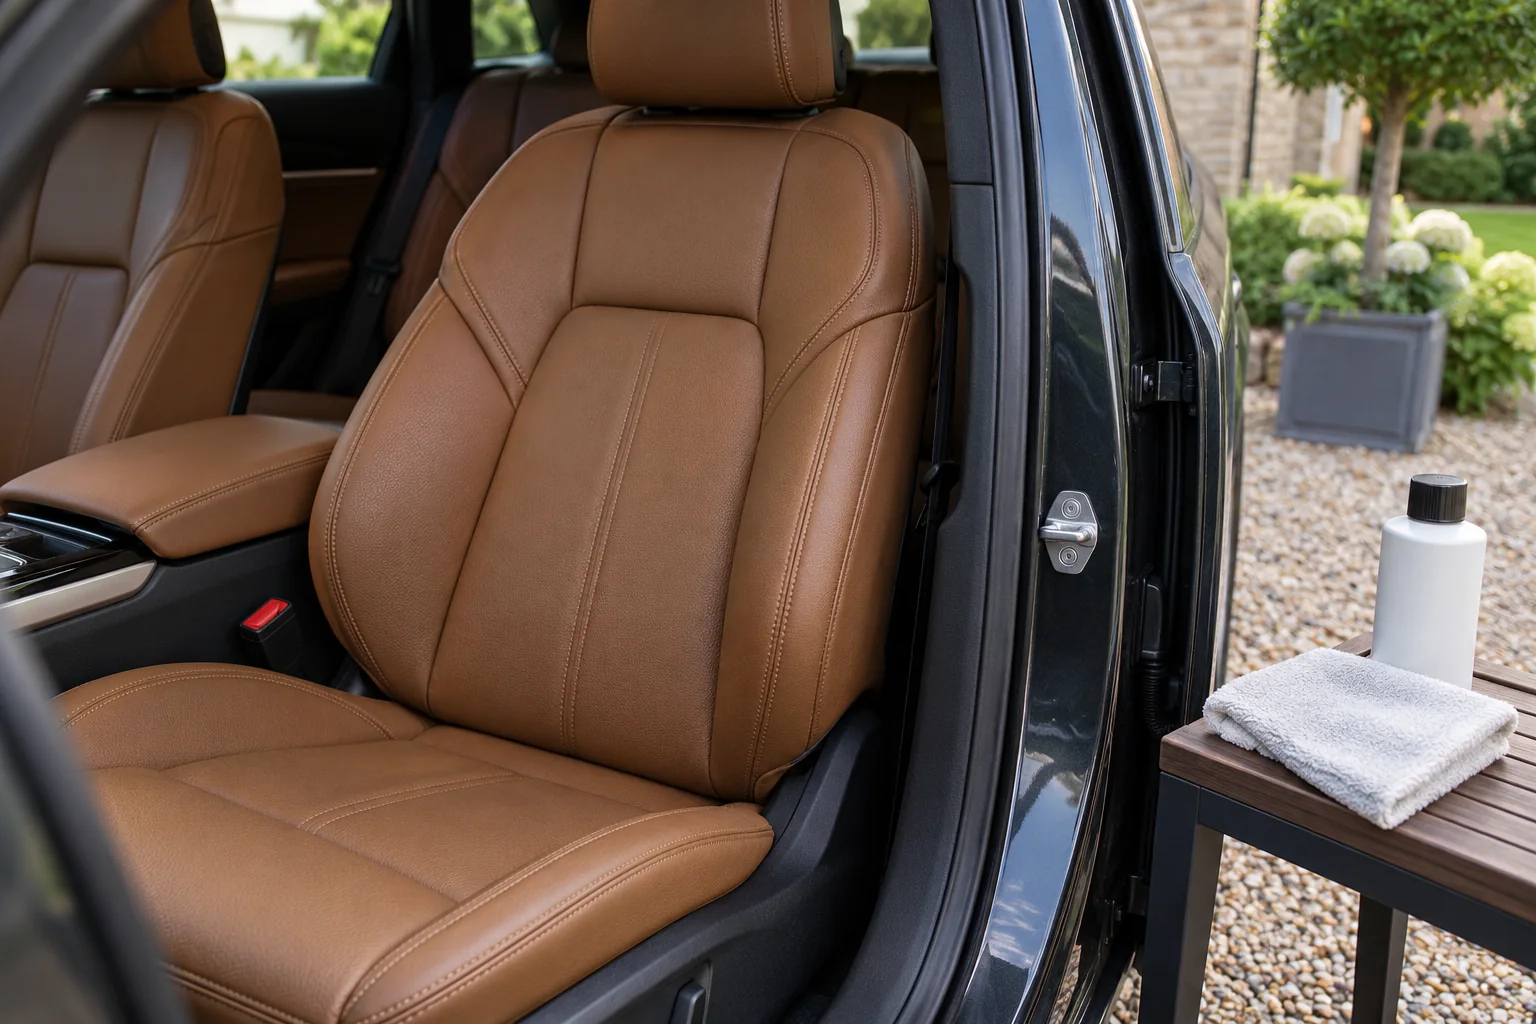
Find out what the seat is made from
“Leather seats” can describe several different surfaces within one cabin. There may be coated automotive leather on contact panels, synthetic material on the sides, perforated sections and suede-like inserts. A bottle approved for one of these does not automatically cover the others.
Use the vehicle's trim description and care guidance. If the covering is absorbent, unsealed or uncertain, avoid experimenting with a general automotive leather cleaner. A discreet test is useful for a permitted product; it is not a substitute for identifying a finish that the product specifically excludes.
This guide concerns ordinary cleaning. Cracked bolsters, lifting coating and peeling synthetic coverings need a repair decision. Do not treat exposed or damaged material as a tougher stain that needs more product.
Start with gentle dry debris removal
Remove belongings and visible hard debris. Use a suitable soft vacuum attachment where the vehicle instructions permit it, keeping its hard edges away from the surface. Work carefully along accessible seams so grit is removed before a cloth passes over it.
Do not force a nozzle into a perforation or seat gap, and keep equipment clear of electrical connections. If a seat needs moving, withdraw the tools first. A clean textile stored for interior work is preferable to a cloth previously used for tyre dressing or exterior wax.
Inspect the covering in good light before using cleaner. Note any worn edges, ink marks, transferred dye or existing discolouration. This makes it easier to recognise a change rather than assuming everything visible afterwards was caused by the clean.
Choose a permitted cleaner without promising a repair
The examples below offer different cleaning routes. Select one that is permitted for the actual surface and use its complete method; there is no benefit in layering both simply because they appear in the same guide.
Autoglym Leather Cleaner: specific automotive exclusions matter
Autoglym's product is for automotive leather and excludes unsealed leather, suede and highly porous surfaces. The label's sparing cloth application is especially relevant around seams and perforations. Its broad cleaning wording does not remove those exclusions.
Test for colour fastness and water staining in an inconspicuous place. For a compatible seat, apply through a microfibre cloth and follow the bottle's removal directions. Do not turn a manufacturer-specific waiting step into a universal dwell time for other cleaners.
For compatible automotive leather
Autoglym Leather Cleaner 500ml
A pH-neutral, silicone-free cleaner for compatible automotive leather and faux leather. It is a cleaning step with a natural matt finish, rather than a shiny dashboard dressing.
- 500ml spray
- pH-neutral formulation
- Automotive leather cleaner
Not for unsealed leather, suede or highly porous materials. Test an inconspicuous area, apply sparingly to a cloth and avoid flooding perforations; follow the vehicle’s instructions.
Gtechniq I2 Tri-Clean: a cloth-based interior alternative
The UK Tri-Clean guidance includes leather and synthetic materials and applies cleaner to a damp cloth. It can be an alternative where the vehicle permits that use, particularly when you want a controlled cleaning step rather than adding a dressing.
Keep the material check specific. A broad list of compatible coverings does not approve every repaired coating, aftermarket treatment or special trim. Follow the received product directions and stop if the test area changes colour or texture.
For a controlled cloth-based interior clean
Gtechniq I2 Tri-Clean 500ml
A ready-to-use interior cleaner for compatible fabrics, plastics and leather. The UK directions apply the product to a damp microfibre cloth, then remove residue with a clean cloth.
- 500ml spray
- Cloth application
- Separate from fabric protection
Vehicle material instructions take priority. Test discreetly, keep liquid out of openings and do not treat broad material claims as permission to clean every screen or child restraint.
Clean small sections with controlled moisture
Work on a cool seat, following the chosen cleaner's instructions. Put the permitted amount on the appropriate tool, use light movement and keep track of the section you have treated. Fold the cloth to expose a clean face as it collects residue.
Concentrated pressure on one mark can damage an already worn coating. If ordinary cleaning does not remove the mark, reassess it. Dye transfer and coating wear need a different decision from dust and body oils; aggressive household stain removal is not a routine next step.
Brush use is conditional. Even a soft-looking brush may be unsuitable for a delicate finish, and any trapped grit changes the contact. If the seat instructions specify a cloth, follow that instruction. A detailing brush bought for vents does not automatically become a leather-scrubbing tool.
Treat seams, perforations and mixed panels separately
Perforations and stitching can retain liquid. Avoid direct spraying into holes or flooding a seam to reach grime. Clean the accessible surface in a controlled way and keep cleaner out of switches, ventilation openings and seat mechanisms.
Where a seat combines leather with a suede-like insert, do not sweep the same wet method across both. Use the separate material directions and keep a clear boundary between processes. Likewise, the side of a seat may be synthetic even when the centre is leather.
Heated and ventilated seats can require extra restrictions. Their presence does not prohibit all cleaning, but it does mean a generic bottle claim cannot settle the method. Ask the vehicle supplier when the manual does not answer the particular job.
Remove residue and assess after drying
Complete the cleaner's specified wipe-off or damp-cloth step using clean tools. Keep moisture modest and allow the surface to dry before deciding whether another permitted pass is needed. Do not leave cleaner pooling in folds while you move around the rest of the car.
The target is the appropriate natural finish for that seat, not a slippery shine. Residue from an old dressing may require careful removal, while a polished-looking bolster may simply be worn. Cleaning cannot promise to restore its original appearance.
Decide on protection separately
Some leather-care systems include a protection or conditioning step. Follow the vehicle's care and the exact product system; do not apply balm automatically to every synthetic, coated or perforated surface. A household furniture cream is not a substitute for confirmed automotive suitability.
Check application surfaces carefully. Products intended for seats should not be spread onto pedals, a steering wheel or control surfaces unless specifically permitted for that use. Avoid creating a slick or greasy contact area.
Stop when the problem is beyond routine cleaning
Pause if colour transfers, a coating softens, peeling increases or the texture changes. For persistent ink, transferred dye, deep staining or damage, ask a suitable leather-care professional or the vehicle supplier. Tell them which products have already been applied.
For mixed interiors, keep fabric-seat care separate. A simple interior routine can reduce loose grit and make future marks easier to spot without turning every clean into a full leather treatment.
Identify synthetic and suede-like inserts separately
Use synthetic-leather cleaning where the covering is a manufactured leather alternative. Suede-like upholstery needs its own textile identity and nap-care method. Do not apply a smooth natural-leather routine across a mixed-material seat.
Common questions
Can I use leather cleaner on imitation leather?
Only where both the product and vehicle guidance permit it. A synthetic covering does not automatically need leather balm or conditioning. Identify the trim and follow its specific care instructions.
Is shiny leather always dirty?
No. Oils and residue can add shine, but finish type, wear and previous treatment also affect appearance. Clean gently and assess after drying; do not chase a matt finish with increasingly hard scrubbing.
How do I clean perforated leather seats?
Keep product amounts small, apply by the permitted cloth method and avoid filling the holes. Check the vehicle guidance for ventilated seats and electronics. Perforations make moisture control more important.
Will cleaner repair cracked or peeling leather?
No. Loss of coating, cracks, abrasion and delamination are repair issues. Cleaner may remove surface dirt but cannot replace missing finish. Seek a suitable repair assessment rather than increasing chemical strength.
Should I always apply conditioner after cleaning?
No universal rule suits every covering. Follow the vehicle and product system instructions. Do not assume a coated or synthetic seat requires oil, balm or a household leather treatment.
Sources and product instructions
Follow the label and care instructions for the exact version and surface you own.