
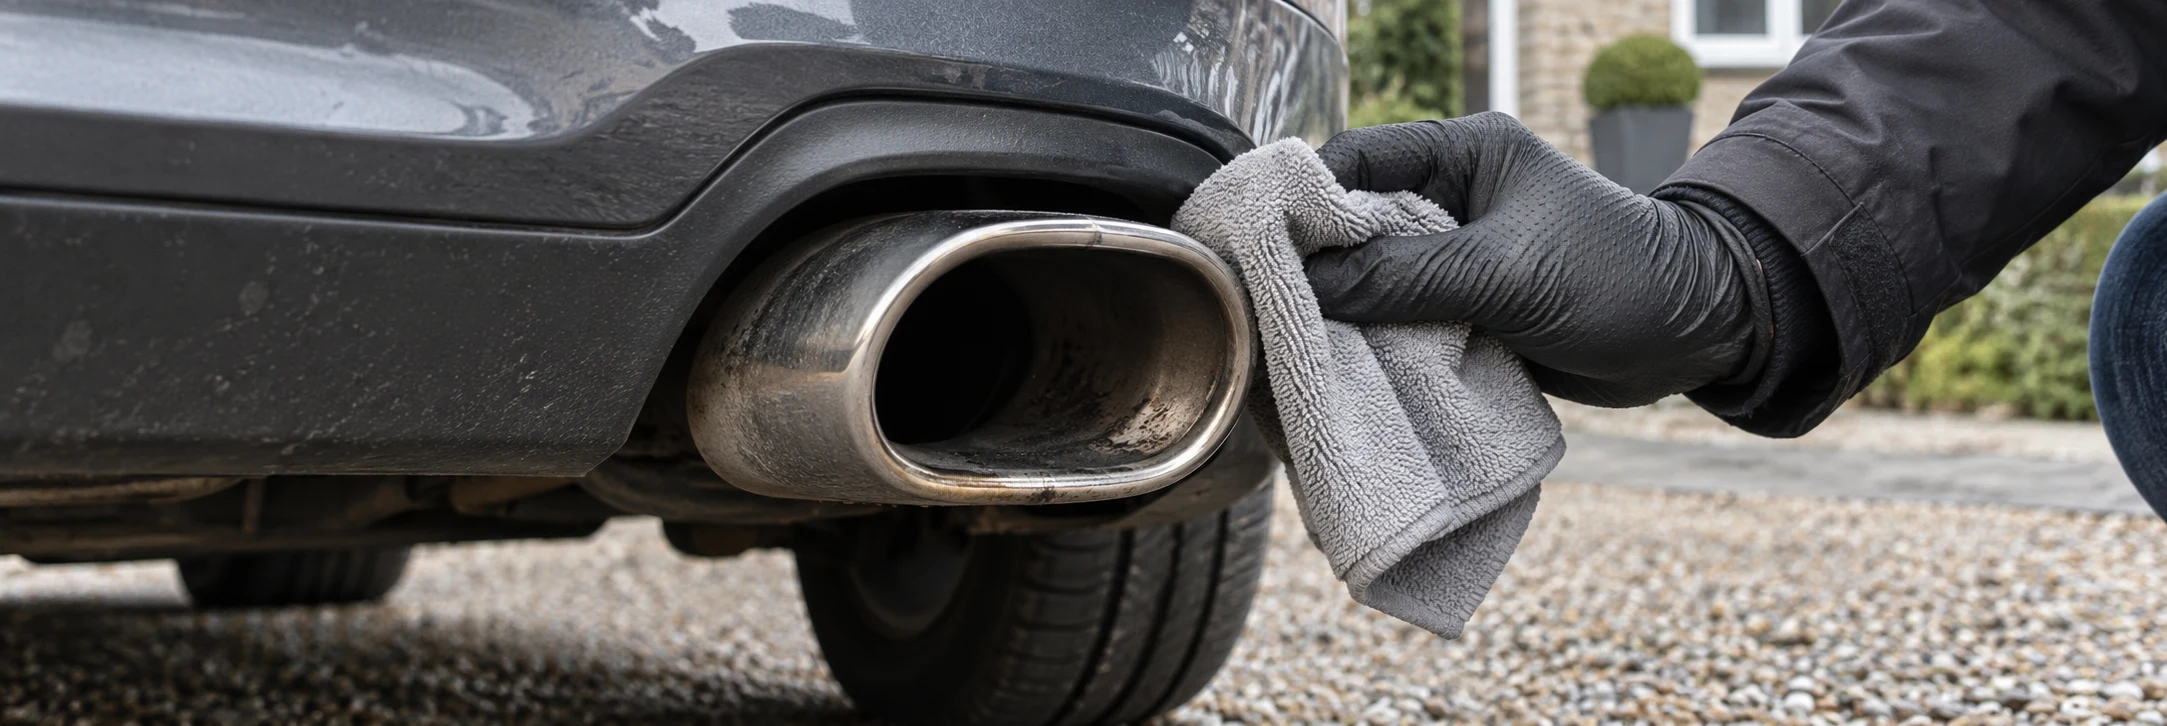
Check the tip, the finish and the temperature
Exhaust outlets can be bare stainless steel, plated metal, painted trim, coated metal or a decorative surround. A silver appearance does not prove that the surface is uncoated stainless, and a magnet test does not identify every alloy or coating. Use the vehicle or exhaust manufacturer’s specification before choosing a polishing product.
This method concerns accessible exterior trim on a fully cold exhaust. Park securely, turn the engine off and allow the whole area to cool naturally. Keep keys away from anyone who might start the car. Do not use a fixed waiting period as proof of temperature, and do not spray water onto hot parts to hurry the job.
Inspect for loose attachments, sharp damaged edges, deep pitting, peeling coatings and nearby heat damage. If anything is loose or deteriorating, get it assessed before cleaning. You do not need to crawl under an unsupported car, remove parts or reach into the exhaust to tidy the visible outlet.
Separate the possible finishes
The right decision can be to stop at washing. Polishing is a further step for a known surface that permits it; it is not the inevitable conclusion of every metal-looking trim job.
| Observed or confirmed finish | Routine approach | Avoid |
|---|---|---|
| Uncoated polished stainless steel, confirmed | Wash first; suitable hand polish only if needed and allowed | Aggressive pads and repeated polishing without inspection |
| Black, painted or PVD-coated tip | Use the maker-approved coating-care method | Ordinary abrasive metal polish |
| Brushed, satin or patterned metal | Preserve the original texture using specific instructions | Polishing a local shiny patch |
| Plated, decorative or unknown trim | Identify material and coating before correction | Assuming a silver surface is bare stainless |
If the manufacturer cannot confirm the finish, use only the mild cleaning it permits and seek advice about persistent marks. A small polish test can still leave a visible patch; it does not replace identifying the material first.
Prepare dedicated tools and protect nearby materials
Set out a separate soft wash tool, clean water, a suitable shampoo and cloths reserved for this dirty task. Keep them away from the bodywork wash bucket and drying towels. Exhaust soot and polish residue are poor companions for a clean bonnet.
Look at the surrounding bumper, diffuser, sensors and any carbon-fibre or black trim. They may not tolerate the same product as the metal tip. Apply cleaner in a controlled way rather than spraying indiscriminately across the rear of the vehicle. Use compatible shielding only where it will not trap grit or damage the surrounding finish.
Have enough light to see the outer lip and accessible sides. Reposition yourself instead of working by feel under a sharp edge. Do not insert a hand, brush or cloth deep into the outlet, and do not leave any material inside it.
Wash loose dirt and soot first
On the permitted cold surface, rinse gently and wash away loose dirt using the appropriate mild solution. This stage makes it easier to see what remains before deciding whether metal polish is needed. Avoid washing grit into a small cloth and then using that same face to rub the tip.
A standalone bucket-wash shampoo
Gtechniq GWash 500ml
A concentrated, pH-neutral shampoo for a regular contact wash. A useful single-bottle choice when you already own a mitt and towels and do not need another boxed set.
- 500ml concentrate
- Bucket-wash shampoo
- pH-neutral formulation
Use the dilution on your UK bottle. This is GWash, not Ceramic GWash or a snow-foam pre-wash; follow your coating or finish supplier’s care instructions.
GWash is a useful pure-shampoo option where the part maker allows it. It is not a specialist repair product and its suitability for a painted body panel does not automatically approve it for every aftermarket coating. Follow the received dilution and the component instructions together.
Rinse carefully without directing water deep inside the exhaust. The task is the visible exterior surface, not flushing the pipe. Catch dirty runoff as practical and keep it off already-clean paint and trim. Then dry with a dedicated clean cloth before inspecting the result.
Decide whether the remaining mark needs polish
Once loose dirt has gone, distinguish a removable deposit from a damaged finish. Dark material near the lip may be soot, but roughness, pits, discolouration and a peeling surface have different causes. Do not use more force merely because a mark remains after a gentle wash.
If the part is confirmed uncoated polished stainless and its maker allows hand polishing, a stainless-specific product is relevant. The selected Autosol tube is the stainless-steel formula, separate from the brand’s general metal polish. Its high-shine purpose is also why it is unsuitable as an automatic treatment for brushed or satin textures.
For confirmed uncoated polished stainless-steel exhaust trim
Autosol Stainless Steel Polish 75ml
A 75ml stainless-steel-specific paste polish, applied sparingly with a soft cloth after loose dirt has been removed. This is the stainless formula, separate from the general Autosol Metal Polish tube.
- 75ml tube
- Stainless-steel-specific formula
- Soft-cloth hand application
Only for an identified finish that permits polishing. Do not use this method on black, painted, PVD-coated, plated, brushed or unknown tips. Work on a fully cold exhaust, outside surfaces only; no steel wool, machine polishing or leak repair.
Keep optional polishing separate from cleaning. A tip that is acceptably clean after washing may need nothing more. Repeating an abrasive stage at every wash can change the finish unnecessarily, especially if the original material has not been positively identified.
Use a small controlled hand-polishing area
Follow the exact polish directions and the component’s restrictions. Use a small amount with a soft clean cloth on an accessible permitted area, keeping the product off adjacent paint and trim. Work gently enough to inspect what is happening rather than trying to finish the whole outlet before looking.
Remove residue with a separate clean cloth as directed. A darkened cloth is not a reliable measure of remaining soot because polish residue can itself become black. Evaluate the surface under good light, then stop if the acceptable result has been reached.
Do not graduate automatically to steel wool, abrasive scouring pads, drill attachments or machine polishing. These change both the cutting action and the risk to nearby parts. An unresolved patch is a reason to identify the deposit or finish more carefully, not proof that the soft cloth was the wrong tool.
Finish around edges without leaving product behind
Inspect the outer lip, accessible joins and surrounding trim. Remove permitted residue promptly using the relevant instructions. Do not push a cloth deep into gaps that cannot be seen or retrieve material by reaching into a sharp outlet.
Keep used polishing cloths distinct from wash mitts and drying towels. Mark them by task and clean or retire them appropriately. The microfibre separation guide helps organise that decision without relying on colour alone.
Before the next drive, check that all cloths, shielding and bottles are clear of the vehicle and no material has been left in or around the outlet. Let any product-specific conditions be satisfied. Do not idle the engine in an enclosed space to dry the area or check whether the cleaning worked.
Know when to stop
Deep pitting, a damaged coating, loose trim and recurring unusual deposits warrant assessment. Cleaning the outlet does not diagnose engine condition or repair corrosion. If the tip changes colour or sheen unexpectedly during a test, stop and preserve a photograph of the result rather than trying several more products.
For the next routine wash, start again with the mild permitted cleaning stage. A clean exterior tip does not need to be mirror-polished every time the car is washed. The best home result preserves the intended finish, keeps dirty tools away from the paint and leaves mechanical concerns to the appropriate specialist.
Common questions
Can I clean an exhaust tip while it is warm?
Wait until the engine is off and the exhaust and surrounding parts are fully cold. Do not use water or product on hot metal, and do not rely on a fixed number of minutes after parking.
Can stainless-steel polish be used on black exhaust tips?
Do not assume so. Black tips may be painted or carry another coating that abrasive polish can change or remove. Identify the exact finish and follow its maker’s instructions.
Should I use steel wool to remove baked-on soot?
Do not make steel wool a generic home-cleaning step. It can mark a finish and is inappropriate for many coated or plated parts. Start with approved gentle cleaning and seek advice if deposits remain.
Does black residue on the polishing cloth prove all soot is gone?
No. Metal-polishing residue can itself darken the cloth. Assess the clean dry surface and avoid endless polishing based on cloth colour alone.
Will polishing remove deep pitting or a damaged coating?
It is not a repair for deep corrosion, perforation, loose trim or failed coating. Stop if the finish is uncertain or damage remains; have the part assessed rather than increasing abrasion.
Sources and product instructions
Follow the label and care instructions for the exact version and surface you own.